Car Air Filter Replacement: Breathe Cleaner Air and Boost AC Efficiency
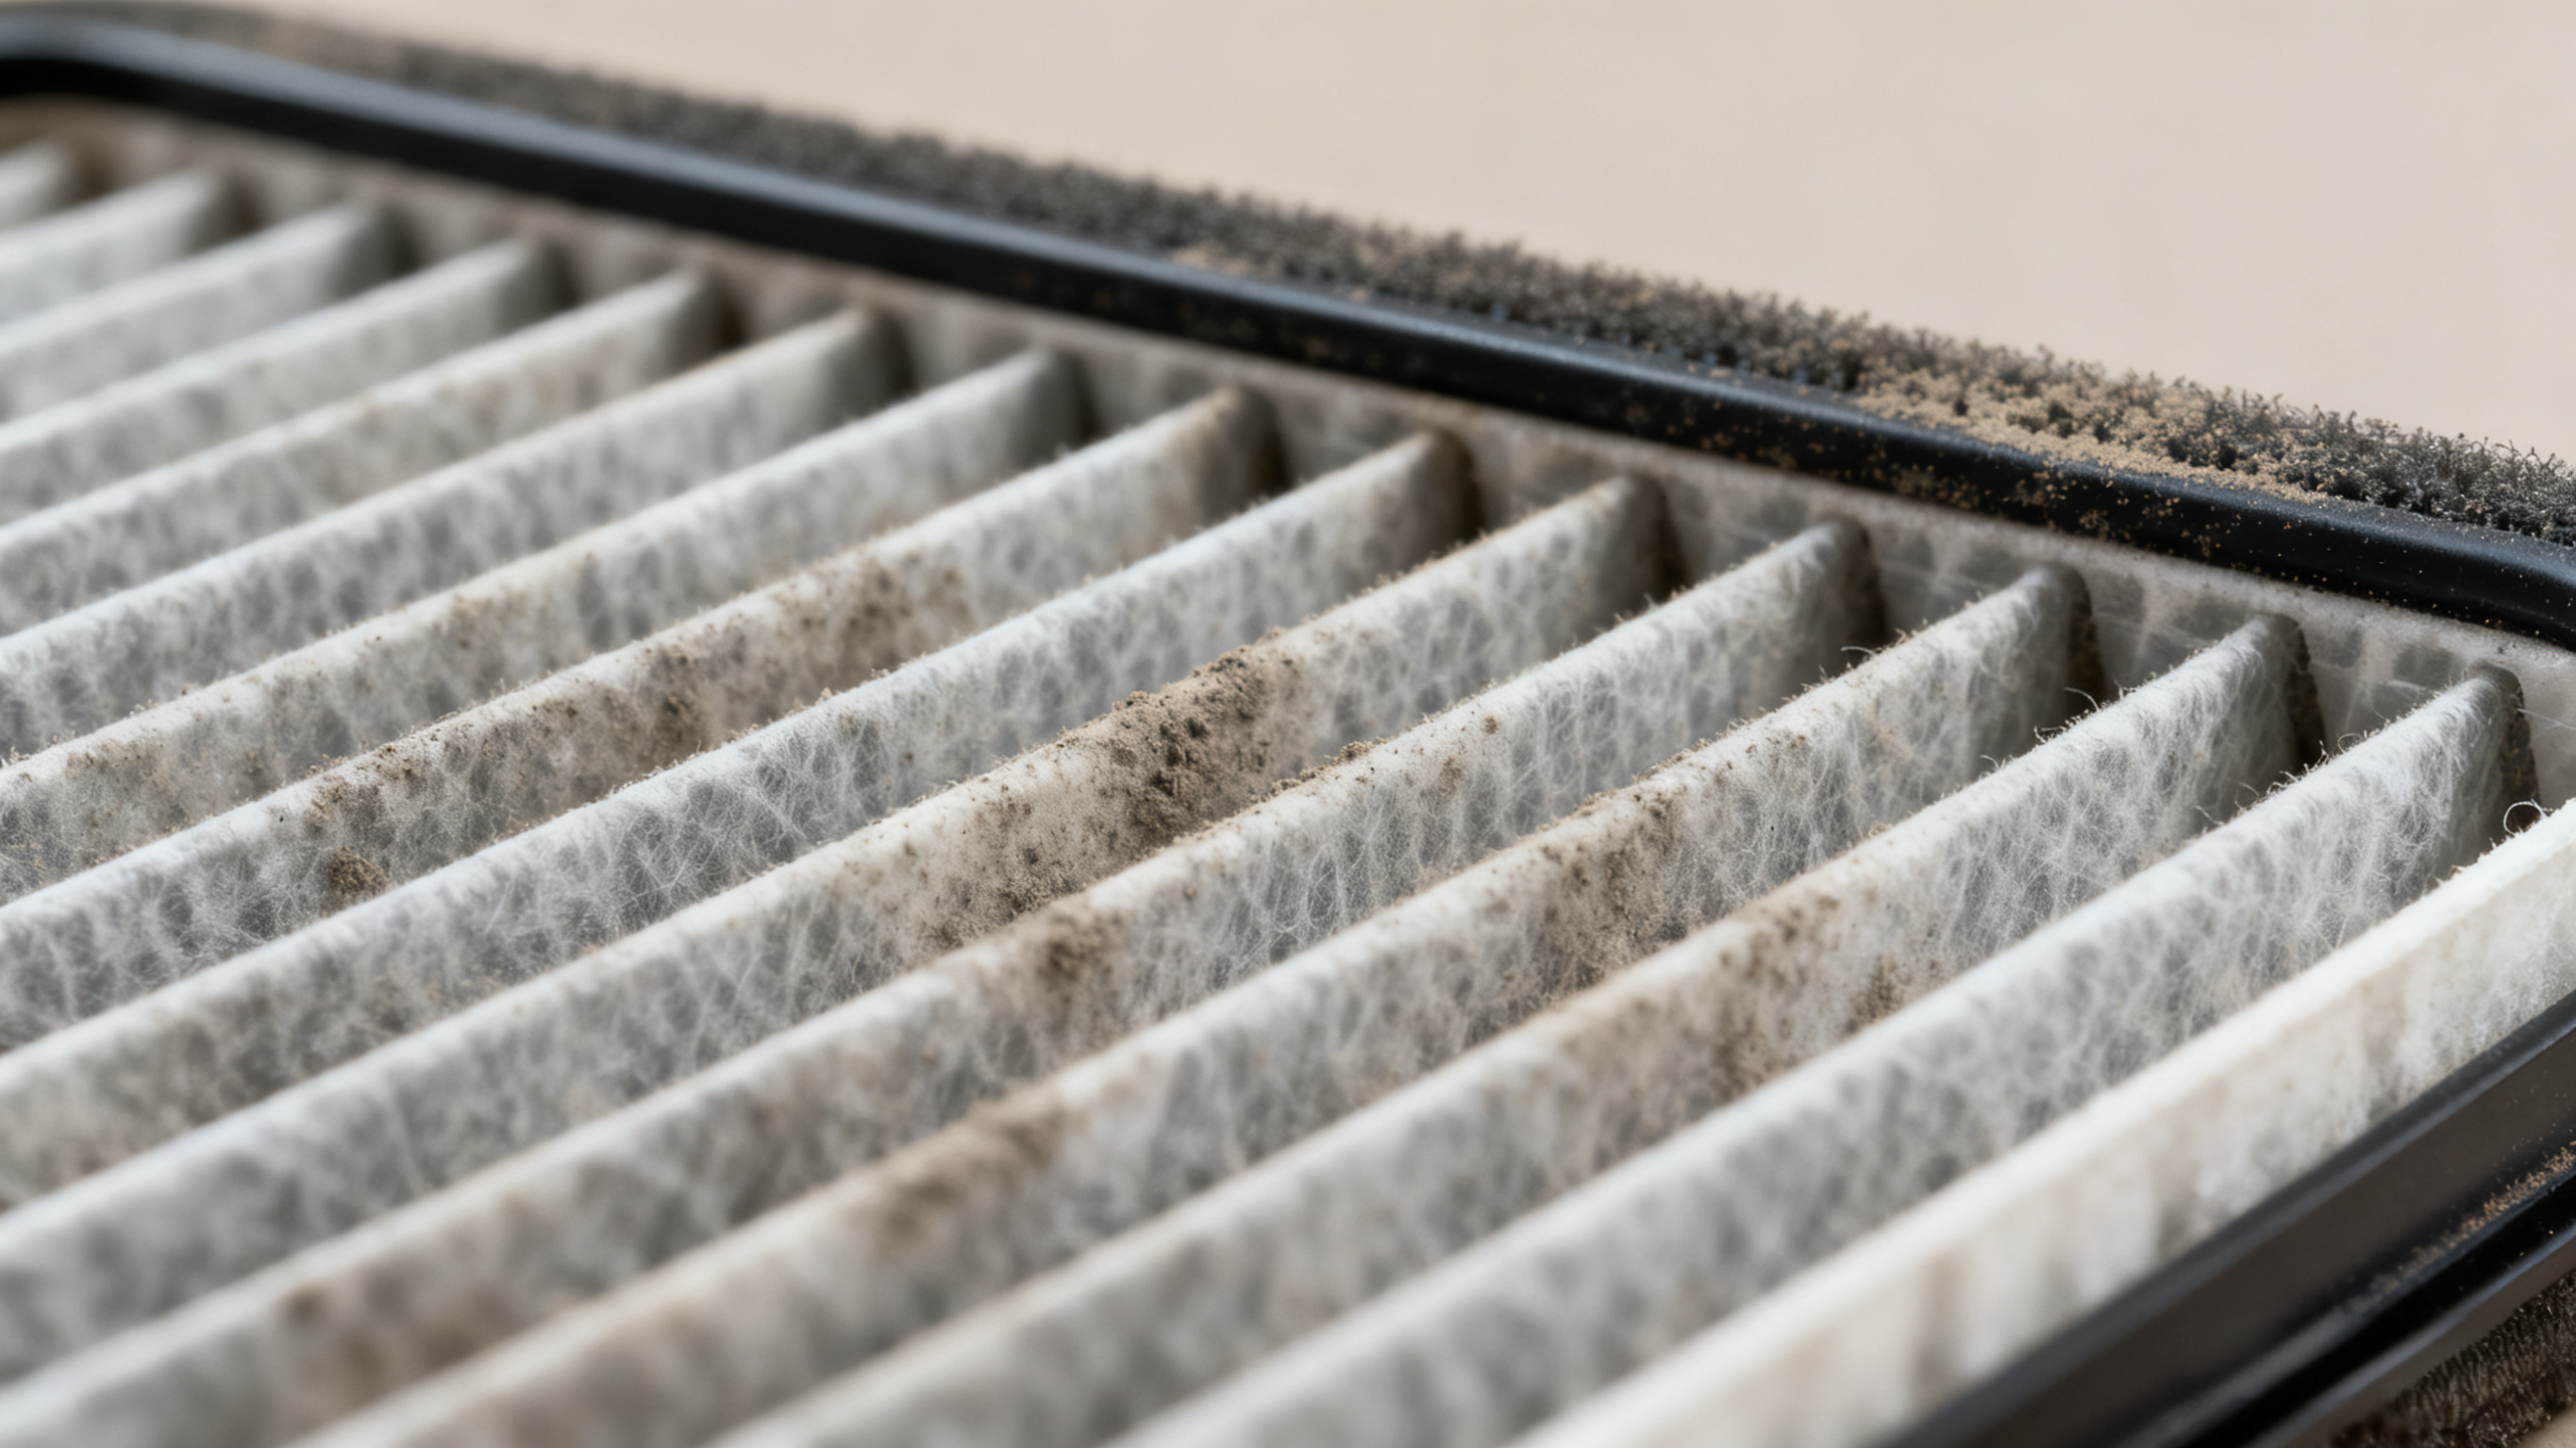
Your car’s cabin air filter (also called the pollen filter) is a small but powerful component that traps dust, pollen, mold spores, road debris, and even exhaust fumes before they enter the vehicle’s interior. Over time, the filter gets clogged with dirt, reducing airflow from the AC and heater, worsening allergies, and even causing musty odors. Replacing the cabin air filter is one of the easiest DIY car maintenance tasks—here’s how to do it in 10–15 minutes.
First, find your cabin air filter’s location. The filter is usually located in one of three spots (check your owner’s manual for exact placement, as it varies by make and model):
- Behind the glove box: This is the most common location. The glove box may need to be removed or tilted down to access the filter housing.
- Under the dashboard (driver’s side): Some vehicles place the filter here, near the footwell.
- Under the hood: Rare for cabin air filters (engine air filters are usually under the hood), but a few models have it near the windshield wiper cowl.
Gather supplies. You’ll need:
- A new cabin air filter (match the filter to your car’s year, make, and model—check the owner’s manual or ask an auto parts store associate. Choose a HEPA filter if you have allergies or live in a dusty area—HEPA filters trap smaller particles than standard filters).
- A Phillips-head or flat-head screwdriver (if needed to remove screws holding the filter housing).
- A rag (to wipe away dust from the housing).
Step-by-step replacement (for glove box location—most common):
- Prepare the glove box. Open the glove box and remove all items inside (papers, sunglasses, etc.). Look for stops on the sides of the glove box—these are plastic tabs that prevent the glove box from falling open fully. Press the stops inward (one on each side) to release them, then let the glove box hang down gently (it will be held by a cable—don’t force it, as you could break the cable).
- Locate the filter housing. Behind the glove box, you’ll see a plastic housing (usually black) with clips or screws holding it closed. The housing may be labeled “Cabin Air Filter” or have a filter icon.
- Open the housing. If the housing has clips, press them inward to release the cover. If it has screws, use a screwdriver to remove them (set the screws aside in a small container so you don’t lose them). Pull the cover off to reveal the old filter.
- Remove the old filter. Pull the old filter out of the housing—note the direction it’s facing (there’s usually an arrow on the filter that says “Air Flow” or “Up”). This arrow indicates which way the filter should be installed (air flows from the outside to the inside of the cabin, so the arrow should point toward the cabin). Dispose of the old filter in the trash (it’s not recyclable in most areas).
- Clean the housing. Use a rag to wipe away dust, dirt, or debris from the inside of the filter housing—this prevents loose dirt from entering the cabin when you install the new filter. Check for leaves or large debris and remove them if present.
- Install the new filter. Insert the new filter into the housing, making sure the air flow arrow points in the correct direction (match the direction of the old filter). Push the filter all the way in until it sits snugly in the housing.
- Reassemble. Put the housing cover back on and secure it with clips or screws. Lift the glove box back up, reattach the side stops (press them outward until they click into place), and close the glove box.
Step-by-step replacement (for under-dashboard location):
- Locate the filter access panel under the driver’s side dashboard (it’s a small plastic panel with clips or screws).
- Remove the panel by pressing the clips or unscrewing the screws.
- Pull out the old filter, note the air flow direction, and dispose of it.
- Clean the housing, install the new filter (correct direction), replace the access panel, and you’re done.
How often to replace the filter. Most manufacturers recommend replacing the cabin air filter every 15,000–30,000 miles (or every 1–2 years). Replace it more often if:
- You live in a dusty area, near construction sites, or in a city with high air pollution.
- You have allergies (a clean filter reduces pollen and mold spores in the cabin).
- You notice reduced airflow from the AC or heater, or musty odors when you turn on the vents.
A new cabin air filter improves air quality in your car, makes your AC work more efficiently, and reduces odors—this simple task makes every drive more comfortable.

