Car Engine Air Filter Replacement: Protect Your Engine and Improve Fuel Efficiency
Your car’s engine air filter is a critical component that prevents dirt, dust, debris, and bugs from entering the engine’s combustion chamber. A clean air filter ensures the engine gets a steady flow of clean air, which is essential for efficient fuel combustion—without it, dirt can scratch engine parts, reduce performance, and even cause costly damage over time. Replacing the engine air filter is a simple DIY task that takes 5–10 minutes, and it’s one of the most cost-effective ways to keep your engine healthy. Here’s how to do it.
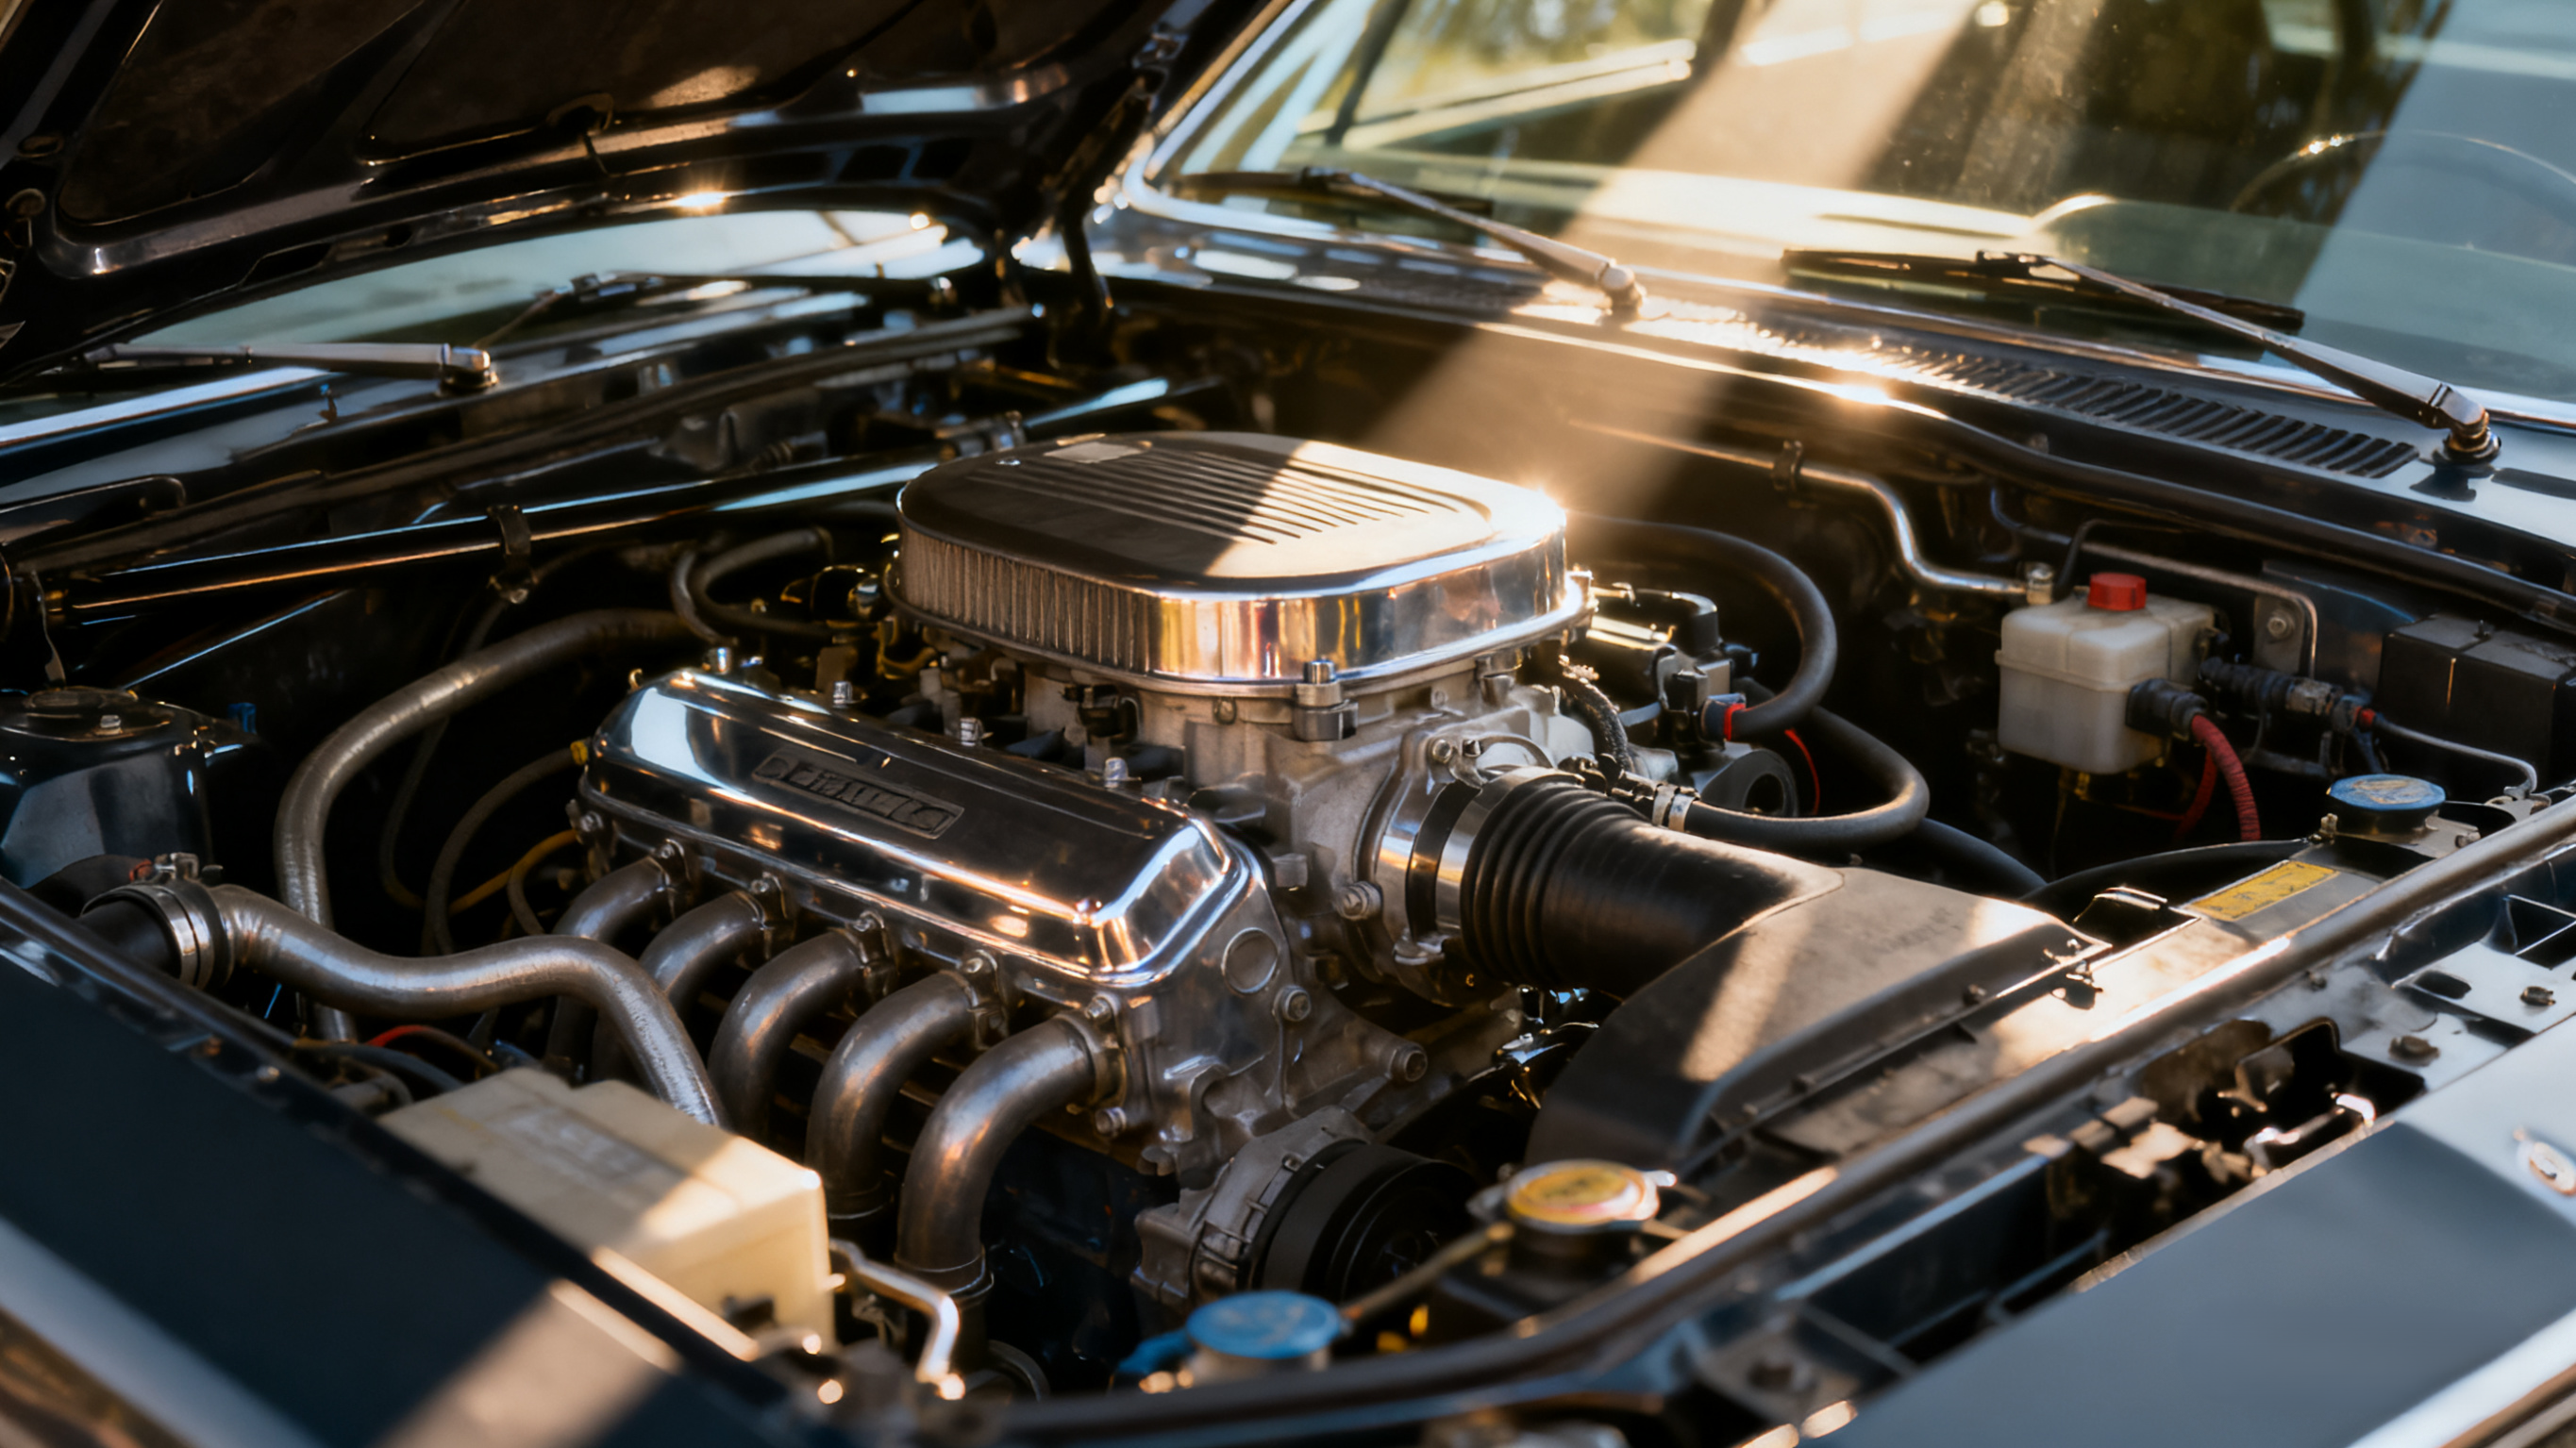
First, locate the engine air filter housing. The air filter is housed in a plastic box (usually black) in the engine bay—look for a large plastic tube (the air intake hose) connected to it, which draws air into the engine. The housing is often labeled “Air Filter” or has a diagram on the cover. If you’re unsure, check your owner’s manual— it will have a clear diagram showing the location for your specific make and model.
Gather your supplies. You’ll need:
- A new engine air filter (match the filter to your car’s year, make, and model—auto parts stores can help you find the right one using your car’s VIN or by checking their catalog. Avoid generic filters—OEM (Original Equipment Manufacturer) or high-quality aftermarket filters are designed to fit perfectly and trap more debris).
- A screwdriver or socket wrench (some housings use clips, so no tools are needed; others have screws or wing nuts that need to be removed).
- A rag (to wipe dust from the housing).
Step-by-step replacement:
- Prepare the engine bay. Make sure the engine is cool (never work on a hot engine—you could burn yourself). Open the hood and prop it up securely (use the hood strut or a prop rod). Take a moment to note the position of the air filter housing and the air intake hose—this will help you reassemble everything correctly.
- Open the air filter housing. Most housings have one of three closure types:
- Clips: Press the plastic clips (usually 4–6) on the sides of the housing inward to release the cover. Gently lift the cover off.
- Screws/Wing Nuts: Use a screwdriver or socket wrench to remove the screws (or twist wing nuts by hand) that hold the cover in place. Set the screws/wing nuts aside in a small container to avoid losing them, then lift the cover off.
- Latches: Some housings have a single latch that flips up to release the cover—flip the latch and lift the cover.
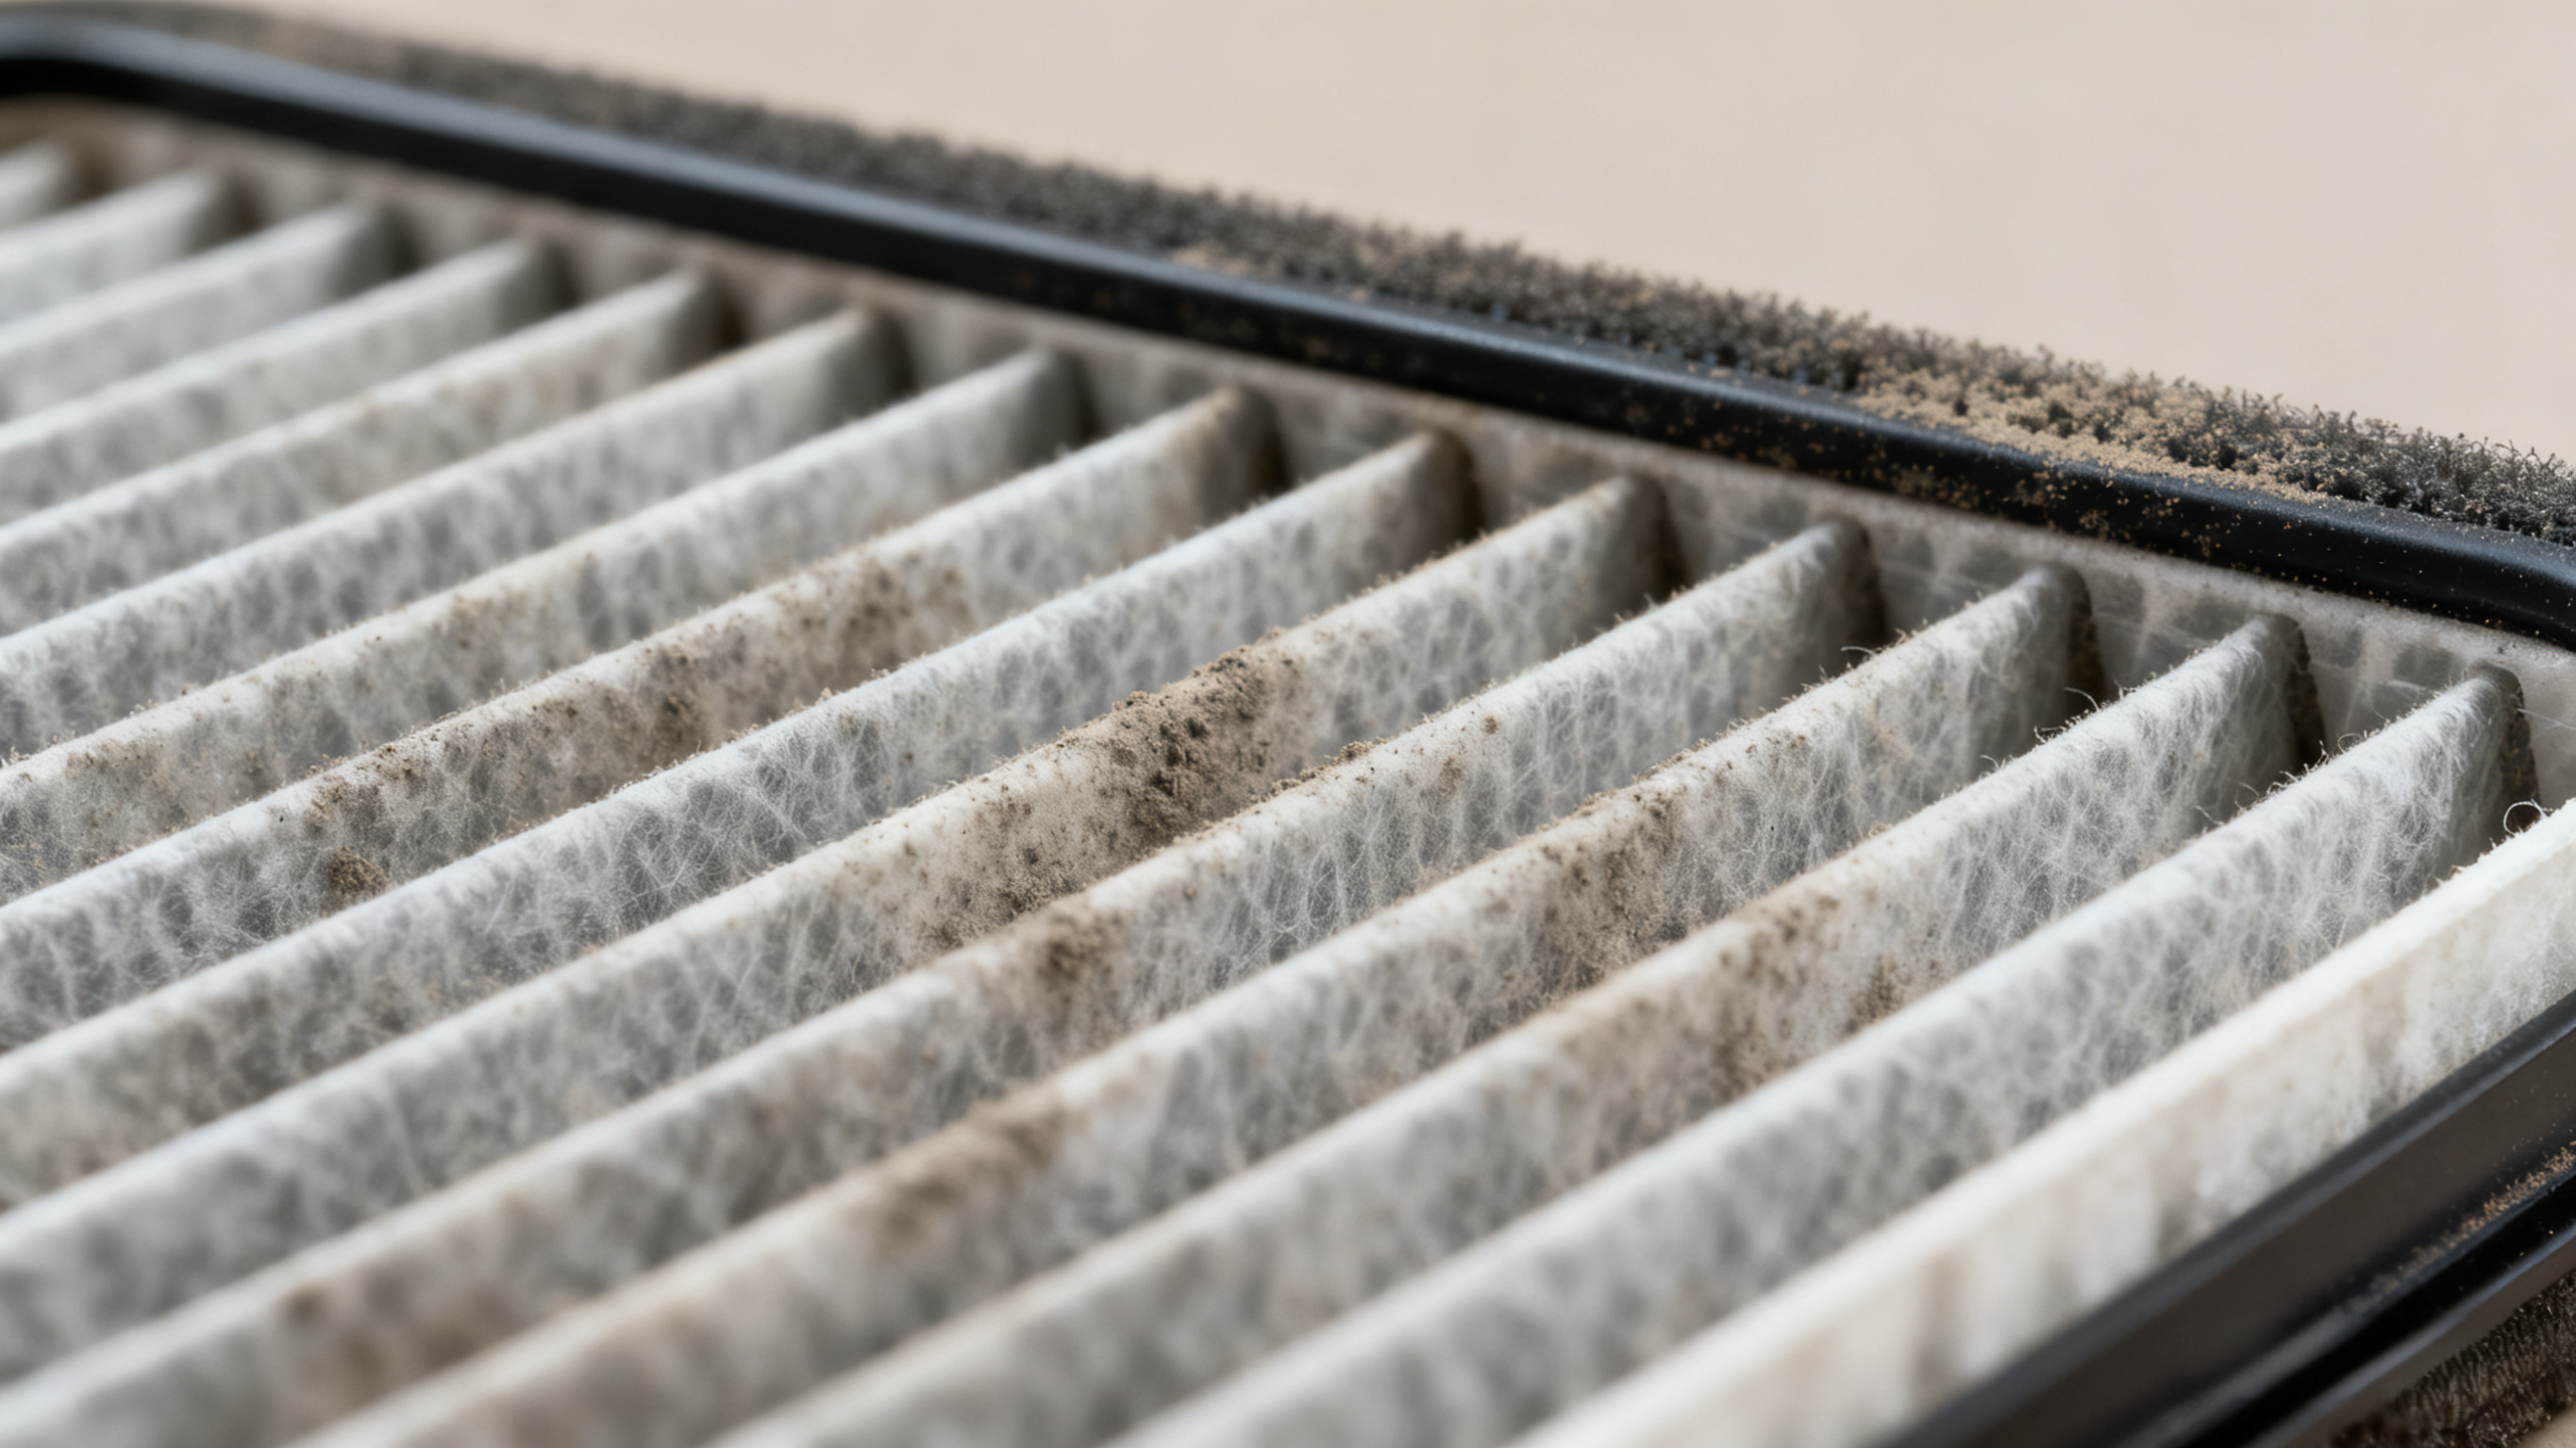
- Remove the old filter. Once the housing is open, you’ll see the old air filter sitting inside a rubber gasket (the gasket keeps unfiltered air from bypassing the filter). Gently pull the old filter out of the housing—take note of its orientation (which side is up) so you can install the new filter the same way. Inspect the old filter: if it’s covered in dirt, dust, or debris (you can’t see light through it), it’s definitely time to replace it. Even if it looks slightly dirty, replacing it is a good idea—filters lose efficiency over time, even if they’re not visibly clogged.
- Clean the housing. Use a clean rag to wipe away any dust, dirt, or debris from the inside of the housing and the cover. Pay special attention to the rubber gasket—make sure it’s clean and not cracked (a cracked gasket allows unfiltered air into the engine, so replace it if damaged). Check for any leaves, bugs, or large debris in the housing and remove them—these can damage the engine if they’re sucked in during operation.
- Install the new filter. Place the new air filter into the housing, making sure it’s oriented the same way as the old one (follow any arrows on the filter that indicate air flow direction). The filter should fit snugly inside the rubber gasket—there should be no gaps around the edges (gaps mean unfiltered air can bypass the filter). Press down gently on the filter to ensure it’s seated properly.
- Reassemble the housing. Put the cover back on the housing and secure it using the same method you used to open it:
- For clips: Press the clips back into place until you hear a “click” (this confirms they’re locked).
- For screws/wing nuts: Replace the screws/wing nuts and tighten them until they’re snug (don’t over-tighten—this can crack the plastic housing).
- For latches: Flip the latch down to lock the cover in place.
- Test the engine. Close the hood and start the engine—let it run for a few minutes to ensure everything is working properly. You may notice improved acceleration or better fuel efficiency within a few days—this is because the engine is now getting a steady flow of clean air, which improves combustion.
How often to replace the filter. Most manufacturers recommend replacing the engine air filter every 15,000–30,000 miles (or every 1–2 years). Replace it more often if:
- You drive on dirt roads, in dusty areas, or near construction sites (these environments clog filters faster).
- You live in an area with high air pollution or frequent wildfires (smoke and pollutants clog filters quickly).
- You notice reduced acceleration, poor fuel efficiency, or a rough idle (these are signs of a clogged filter).
Replacing your engine air filter is a simple, affordable way to protect your engine and keep your car running smoothly—don’t skip this important maintenance task.

