Over 20 years of experience in manufacturing tire gauges & automotive tools.

Bike Tire Pressure: How to Get It Right for Safety and Speed

  • Product Guide
Posted by GODESON On Sep 23 2025

Bike Tire Pressure: How to Get It Right for Safety and Speed

Many cyclists overlook tire pressure, but it’s one of the easiest ways to improve your bike’s performance, comfort, and safety. Too little pressure causes slow, sluggish rides and increases the risk of flats; too much pressure makes the ride bumpy and reduces traction. Here’s how to find and maintain the perfect pressure.

First, find your tire’s recommended pressure range. Every bike tire has a sidewall with printed numbers like “35–65 psi” (pounds per square inch) or “2.4–4.5 bar” (1 bar = 14.5 psi). This range is determined by the tire’s size, material, and intended use (e.g., road bike tires have higher pressure ranges than mountain bike tires). Start in the middle of the range—you can adjust up or down based on your weight, riding style, and terrain.

Adjust for your weight. Heavier riders need higher pressure to support their weight and prevent the tire from sagging (which causes rolling resistance). If you’re over 200 pounds, aim for the upper end of the recommended range. Lighter riders (under 150 pounds) can use the lower end for a more comfortable ride. For example, a road tire with a 80–120 psi range: a 180-pound rider might use 100 psi, while a 130-pound rider could use 90 psi.

Adjust for terrain. Road bikes: ride on smooth pavement, so higher pressure (80–120 psi) reduces rolling resistance and speeds you up. Mountain bikes: ride on dirt, rocks, or mud, so lower pressure (25–50 psi) increases traction (the tire can conform to the terrain better). Gravel bikes: a middle ground (40–70 psi)—enough pressure for speed on gravel, but not so much that you lose traction on rough spots.

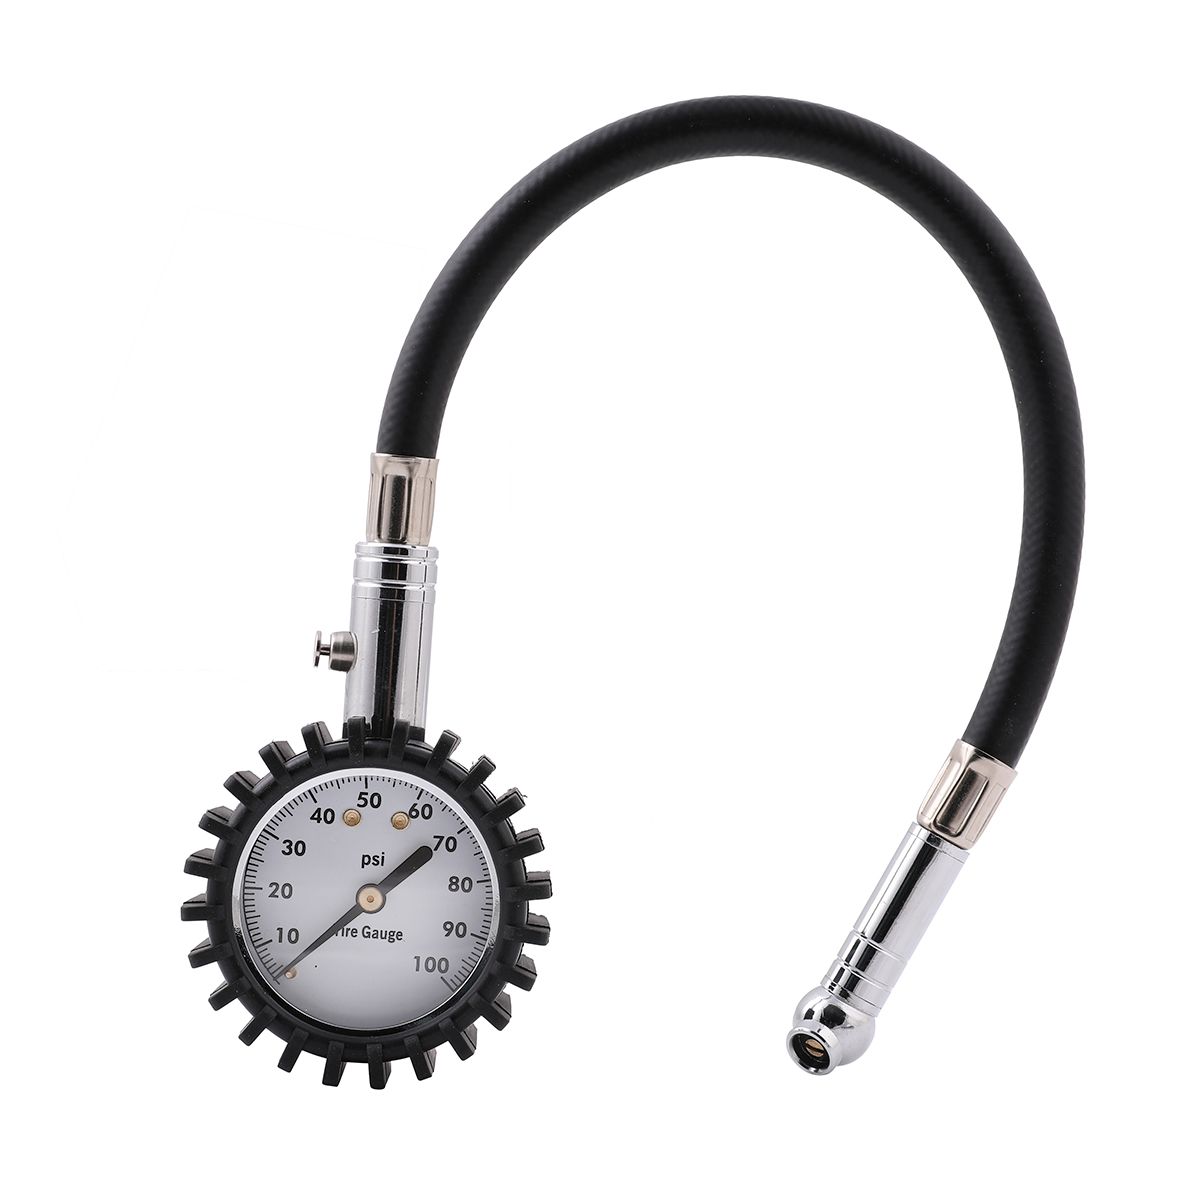
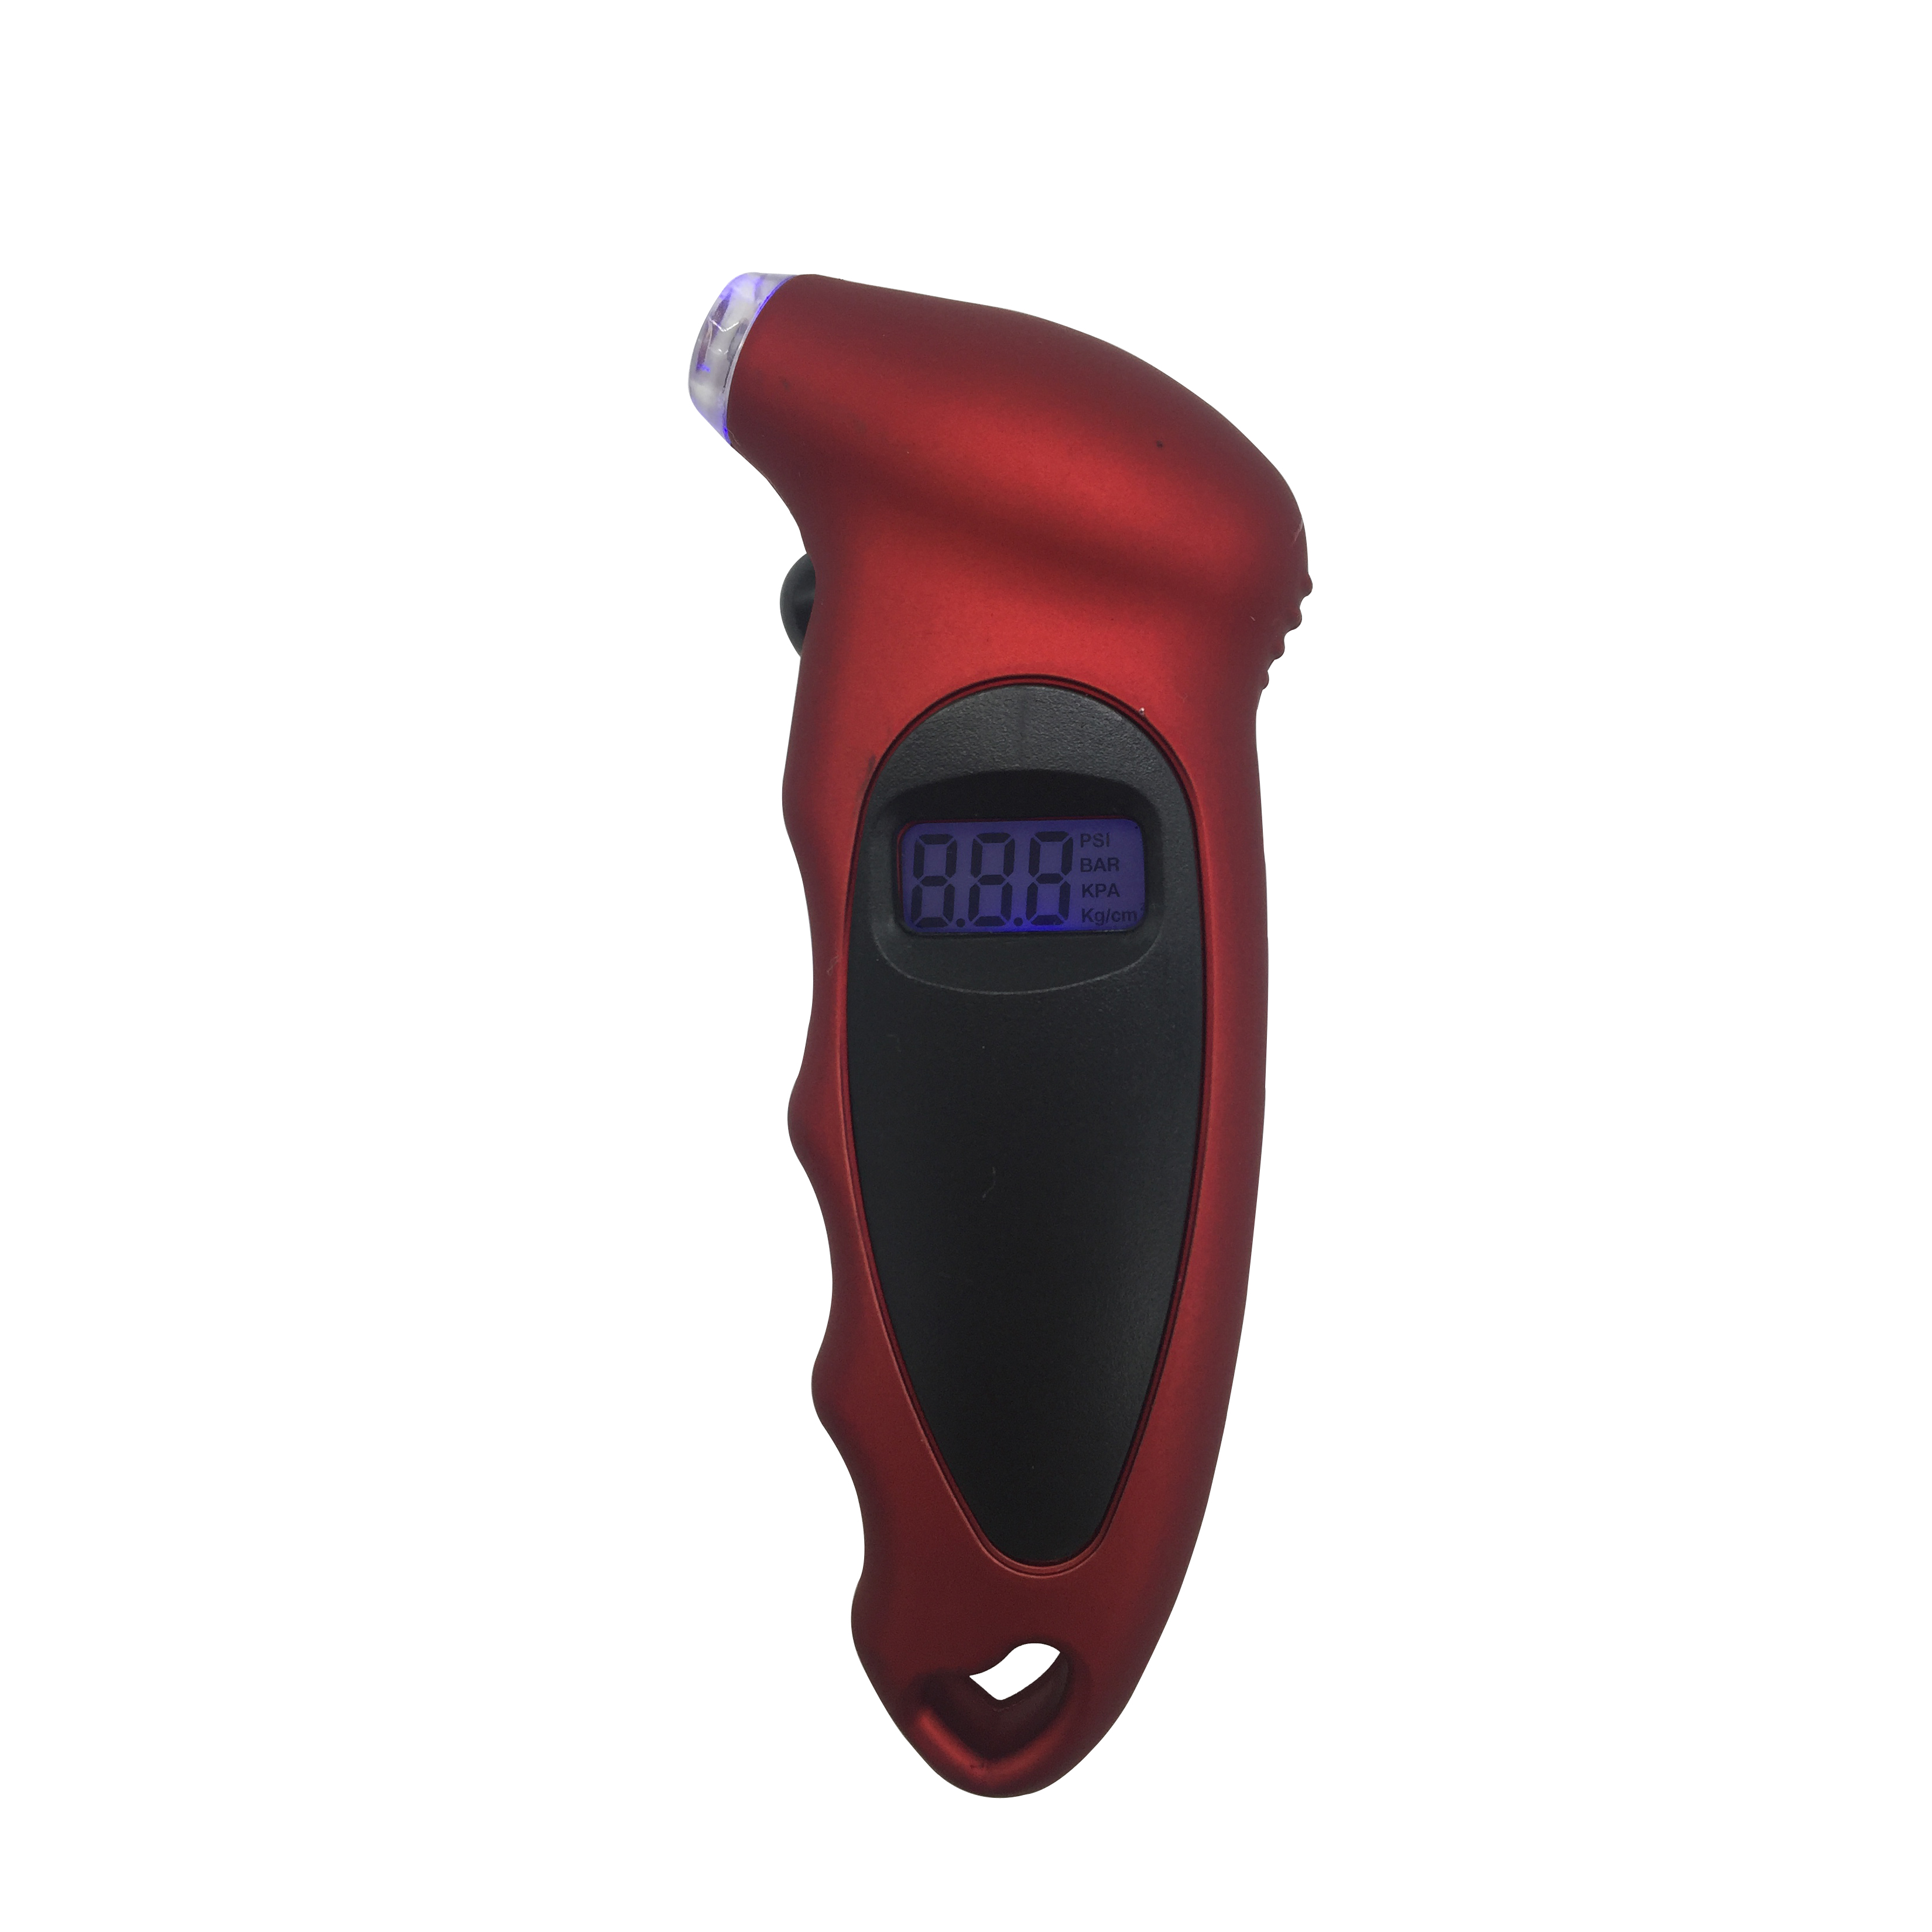
Check pressure regularly. Tire pressure decreases over time (even if the tire isn’t flat)—lose 1–2 psi per week. Check it before every ride with a reliable gauge (a floor pump with a gauge is best; small handheld gauges can be inaccurate). If you hit a pothole or a rock, check pressure afterward—you might have a slow leak.

Avoid overinflating. Never exceed the maximum pressure listed on the tire sidewall. Overinflated tires are more likely to blow out (especially when hitting bumps) and have less contact with the ground, reducing traction. Underinflated tires are also risky—they can pinch the inner tube between the tire and rim (causing a “snake bite” flat) or damage the tire’s sidewall.

Taking 30 seconds to check and adjust your tire pressure before each ride will make your bike faster, more comfortable, and safer—It’s one of the best “free” upgrades you can give your bike.

Related products:

Featured Blogs

Tag:

  • Hot Products
Share On
Featured Blogs
Essential Tyre Tread Depth Gauge for Safety & Performance

Essential Tyre Tread Depth Gauge for Safety & Performance

1. Understanding the Importance of a Tyre Tread Depth Gauge for Vehicle Safety 2. Mastering Tire Tread Depth Measurement Techniques 3. How to Measure Tire Tread Depth: A Step-by-Step Guide 4. Choosing the Right Tire Depth Gauge Tool for Your Needs 5. The Benefits of Using a Tire Tread Depth Checker Regularly 6. Introducing Our Precision Tyre Tread Depth Gauge 7. Advanced Tips for Tire Maintenance with Your Gauge

Advanced Torque Wrench Tips, Maintenance, and Common Mistakes to Avoid

Advanced Torque Wrench Tips, Maintenance, and Common Mistakes to Avoid

Torque Wrench Calibration: Why It’s Essential for Accuracy Proper Torque Wrench Maintenance to Extend Its Lifespan Common Torque Wrench Mistakes Even Experienced Mechanics Make When to Replace Your Torque Wrench

The Ultimate Pre-Trip Inspection Checklist for RVs and Travel Trailers: Avoid Roadside Headaches Before You Go

The Ultimate Pre-Trip Inspection Checklist for RVs and Travel Trailers: Avoid Roadside Headaches Before You Go

The Ultimate Pre-Trip Inspection Checklist for RVs and Travel Trailers: Avoid Roadside Headaches Before You Go 1. Tires: The #1 Most Critical Component (Don’t Skip This) 2. Hitch & Coupler: Secure Your Most Important Connection 3. Lights & Electrical: Stay Visible and Legal 4. Brakes: Reliable Stopping Power for Every Terrain 5. Cargo & Load Security: Prevent Sway and Shifting 6. Living Systems Check: For RVs and Trailers with Amenities 7. Pack an Emergency Kit: Prepare for the Unexpected Make Pre-Trip Inspections a Non-Negotiable Habit

Tyre Deflator for 4WD: Elevate Off-Road Performance

Tyre Deflator for 4WD: Elevate Off-Road Performance

1. Discover the Ultimate Tyre Deflator for 4WD Adventures 2. Why Choose the Best Tyre Deflator for Off-Road Use? 3. Exploring Automatic Tyre Deflator 4x4 Options 4. Building Your 4WD Tyre Deflation Kit Essentials 5. Tips for Using Your Tyre Deflator for 4WD Effectively

A Beginner’s Guide to Using a Torque Wrench: Why It Matters and How to Do It Right

A Beginner’s Guide to Using a Torque Wrench: Why It Matters and How to Do It Right

Why Torque Wrenches Are Non-Negotiable for Mechanical Work The Dangers of Incorrect Torque: Too Loose vs. Too Tight Types of Torque Wrenches: Which One Is Right for You? Step-by-Step: How to Use a Torque Wrench Correctly

The Best Tire Tread Depth Gauge: A Comprehensive Guide

The Best Tire Tread Depth Gauge: A Comprehensive Guide

1. Design and Build Quality 2. How to Measure Tire Tread Depth: A Step-by-Step Guide 3. Performance in Real-World Use 4. Pros, Cons, and Value Assessment