How to Use a Tire Inflator Gauge: A Complete Guide for Safe & Accurate Tire Maintenance
Keeping your vehicle’s tires properly inflated is one of the simplest yet most impactful ways to boost safety, improve fuel economy, and extend tire lifespan. But to get it right, you need to know how to use a tire inflator gauge effectively. Whether you’re a new driver or a seasoned car owner, this step-by-step guide will walk you through everything you need to know—from understanding tire pressure basics to troubleshooting common issues.
Why Proper Tire Pressure Matters (And Why You Need a Gauge)
Before diving into the “how,” let’s cover the “why.” Maintaining the right tire pressure isn’t just a minor chore—it’s a critical part of vehicle upkeep. Here’s what’s at stake:
-
Safety First: Underinflated tires reduce traction, making it harder to brake and handle your vehicle—especially in wet or icy conditions. Overinflated tires, on the other hand, create a smaller contact patch with the road, leading to poor handling and an increased risk of skidding or hydroplaning.
-
Better Fuel Efficiency: Tires that are underinflated create more rolling resistance, which means your engine has to work harder. This can lower your gas mileage by up to 10%—a waste of money and fuel over time.
-
Longer Tire Life: Both underinflation and overinflation cause uneven tread wear. Underinflated tires wear more on the edges, while overinflated tires wear more in the center. Proper pressure ensures even wear, helping your tires last longer.
A tire inflator gauge is your best tool for getting this right. It lets you check and adjust pressure with precision, so you never have to guess if your tires are at the optimal level.
Understanding Tire Pressure: Key Terms & Ranges
First, let’s get familiar with the basics of tire pressure. Tire pressure refers to the amount of air inside your tire, measured in PSI (pounds per square inch). Every vehicle has a specific recommended PSI, which you can find on a sticker inside the driver’s door jamb or in your owner’s manual. Note: This is not the same as the maximum PSI printed on the tire’s sidewall—that’s the highest pressure the tire can safely handle, not the ideal level for your vehicle.
Here are general PSI ranges for common vehicle types (always check your vehicle’s specific recommendation):
-
Passenger cars: 30–35 PSI
-
SUVs and light trucks: 35–45 PSI
-
Heavy-duty trucks: 50–80 PSI
Tire pressure can fluctuate with temperature—cold weather decreases pressure, while hot weather increases it. For the most accurate reading, always check your tires when they’re “cold”—meaning the vehicle has been parked for at least 3 hours or driven less than a mile. This ensures you’re measuring the true pressure without interference from heat generated by driving.
Types of Tire Inflator Gauges: Which One Should You Choose?
Tire inflator gauges come in three main types, each with its own pros and cons. The best one for you depends on your needs and preferences:
-
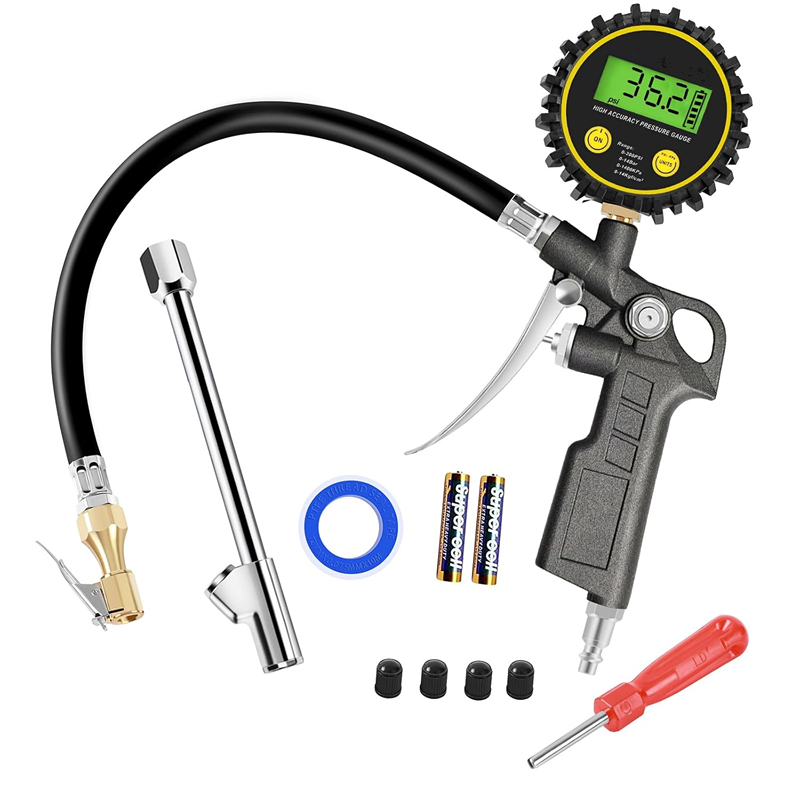
Digital Gauges: These display pressure on an LCD screen, making them easy to read—even in low light. They’re generally more accurate than other types and often measure in multiple units (PSI, kg/cm², bar). The only downside? They require batteries.
-
Analog (Dial) Gauges: These use a needle on a dial to show pressure. They’re durable, don’t need batteries, and are often more affordable. The tradeoff is that they can be harder to read precisely, especially for those with poor eyesight.
-
Stick (Pencil) Gauges: These are small, portable, and budget-friendly. They work by extending a measured rod when pressed against the valve stem. While convenient for quick checks, they’re less accurate than digital or analog gauges.
No matter which type you choose, look for one with a comfortable grip, sturdy construction, and compatibility with your tire valves (most vehicles use Schrader valves, while some bikes and high-performance cars use Presta valves).
How to Choose the Right Tire Inflator
A good tire inflator makes checking and adjusting pressure a breeze. Here’s what to look for when shopping:
-
Accuracy: Opt for a model with precise pressure readings—even a 1-2 PSI difference can affect performance.
-
Ease of Use: Look for a clear display (digital is best for clarity) and intuitive controls. Some models even let you set a target pressure and automatically stop when reached.
-
Durability: Choose a unit made from sturdy materials that can withstand regular use and storage in your car or garage.
-
Power Source: Most portable inflators plug into your car’s 12V outlet, while others use rechargeable batteries or household power. Pick one that fits your lifestyle (e.g., a 12V model is perfect for on-the-go use).
-
Compatibility: Ensure the inflator works with your tire valves and can handle your vehicle’s tire size.
Preparing to Use Your Tire Inflator
Before you start inflating, take a few minutes to prepare. This will ensure accuracy and safety:
-
Park your vehicle on a flat, level surface and engage the parking brake.
-
Gather your tools: your tire inflator, a tire pressure gauge (if your inflator doesn’t have a built-in one), and a safe place to store the valve caps (so you don’t lose them).
-
Locate the recommended PSI for your vehicle (check the driver’s door jamb or owner’s manual) and note it down.
-
Clean the valve stems on each tire with a dry cloth to remove dirt or debris—this helps create a tight seal with the inflator.
-
Ensure your inflator is powered and ready to use (e.g., plug it into your car’s 12V outlet or charge the battery).
Step-by-Step: How to Use a Tire Inflator Gauge
Now, let’s walk through the process of checking and inflating your tires. Follow these steps for safe, accurate results:
Step 1: Remove the Valve Cap
Locate the valve stem on your tire—it’s a small rubber or metal protrusion on the wheel rim. Twist off the valve cap and set it aside in a safe place (like your pocket or a cup) to avoid losing it.
Step 2: Check the Current Pressure
If your inflator has a built-in gauge, attach the hose to the valve stem (we’ll cover this in Step 3). If not, use a separate gauge: press the gauge firmly onto the valve stem until the hissing sound stops (this means you’ve created a tight seal). Read the pressure on the gauge and compare it to your vehicle’s recommended PSI.
Step 3: Attach the Inflator
Connect the inflator’s hose to the valve stem. Use the lever (if your inflator has one) to secure the hose tightly—this prevents air from leaking while inflating. Double-check the connection to ensure it’s snug.
Step 4: Set the Desired Pressure
Most modern inflators let you set a target pressure. Enter your vehicle’s recommended PSI using the inflator’s controls. This ensures the inflator will stop automatically when it reaches the right level (a huge time-saver!).
Step 5: Inflate the Tire
Turn on the inflator. It will begin pumping air into the tire. Keep an eye on the gauge (built-in or separate) to monitor the pressure as it rises. If your inflator doesn’t have an automatic stop, inflate in short bursts and check the pressure frequently—this prevents overinflation.
Step 6: Adjust if Needed
If you accidentally overinflate the tire, release air by pressing the small pin in the center of the valve stem (you can use the back of a valve cap or a small tool for this). Release a little air at a time, then check the pressure again until it matches the recommended PSI.
Step 7: Disconnect and Replace the Valve Cap
Once the tire is at the correct pressure, turn off the inflator and disconnect the hose from the valve stem. You may hear a brief hiss of air—this is normal and won’t affect the pressure. Twist the valve cap back on tightly to keep dirt and moisture out of the valve.
Step 8: Double-Check All Tires
Repeat the process for all four tires (don’t forget the spare!). Even if one tire is at the right pressure, others may need adjustment. After inflating, double-check each tire’s pressure with a gauge to ensure accuracy.
Tips for Maintaining Proper Tire Pressure
To keep your tires in top shape, make these habits part of your vehicle maintenance routine:
-
Check tire pressure at least once a month and before long trips. Temperature changes and regular driving can cause pressure to fluctuate.
-
Always check cold tires for the most accurate reading. Driving even a short distance can heat up tires and skew the pressure.
-
Don’t ignore the spare tire! Spare tires lose air over time, so check its pressure every few months to ensure it’s ready when you need it.
-
Replace valve caps if they’re lost or damaged. They protect the valve stem from dirt and leaks.
Maintaining Your Tire Inflator
A well-maintained inflator will last for years and provide accurate readings. Here’s how to care for it:
-
Clean the inflator after each use with a soft, dry cloth to remove dust and debris. Pay special attention to the gauge face and hose connections.
-
Store the inflator in a cool, dry place. Avoid leaving it in your car during extreme temperatures (hot or cold), as this can damage the gauge and internal components.
-
Check the hose and connections regularly for cracks, wear, or leaks. Replace any damaged parts promptly.
-
Calibrate the gauge annually (or if you suspect inaccurate readings). Many auto service centers offer calibration services for a small fee.
-
Lubricate moving parts occasionally with a silicone-based lubricant to prevent rust and ensure smooth operation.
-
Follow the manufacturer’s instructions for your specific model—some inflators have unique maintenance requirements.
Troubleshooting Common Issues
Even with the best tools, you might run into problems. Here’s how to fix common tire inflator issues:
-
Air not flowing: Check that the hose is securely attached to the valve stem. Look for kinks in the hose or leaks around the connection. Verify the power source (e.g., check the car’s 12V outlet or recharge the battery).
-
Slow inflation: Ensure the inflator is powerful enough for your tire size. Clean the valve stem to remove debris that might be blocking air flow. Check the tire for punctures—if air is leaking out as fast as it’s being pumped in, you may have a flat.
-
Inaccurate readings: Calibrate the gauge. Check the tire when it’s cold. If using a digital gauge, replace the batteries.
-
Inflator not turning on: Check the power connections and fuses. For battery-powered models, recharge or replace the batteries. If the unit is overheated, let it cool down before using it again.
Conclusion: Make Tire Maintenance a Habit
Using a tire inflator gauge is a simple skill that pays off in safety, savings, and peace of mind. By following this guide, you can easily keep your tires at the optimal pressure, extend their life, and improve your vehicle’s performance.
Remember: proper tire inflation isn’t a one-time task—it’s a regular part of vehicle care. Set a reminder to check your tires once a month, and you’ll avoid costly repairs, improve fuel efficiency, and stay safe on the road.
With the right tools and a little practice, you’ll be a pro at using a tire inflator gauge in no time. So grab your gauge, check those tires, and hit the road with confidence!