How to Use a Torque Wrench for Car Wheel Lugs: A Safety Critical Guide
Tightening car wheel lugs with a torque wrench isn’t just a “nice-to-do”—it’s a safety must. Loose lugs can cause the wheel to wobble or even detach while driving, and over-tightened lugs can snap the bolts or warp the brake rotor. Follow this step-by-step guide for perfect, safe results:
Step 1: Gather Your Tools
You’ll need:
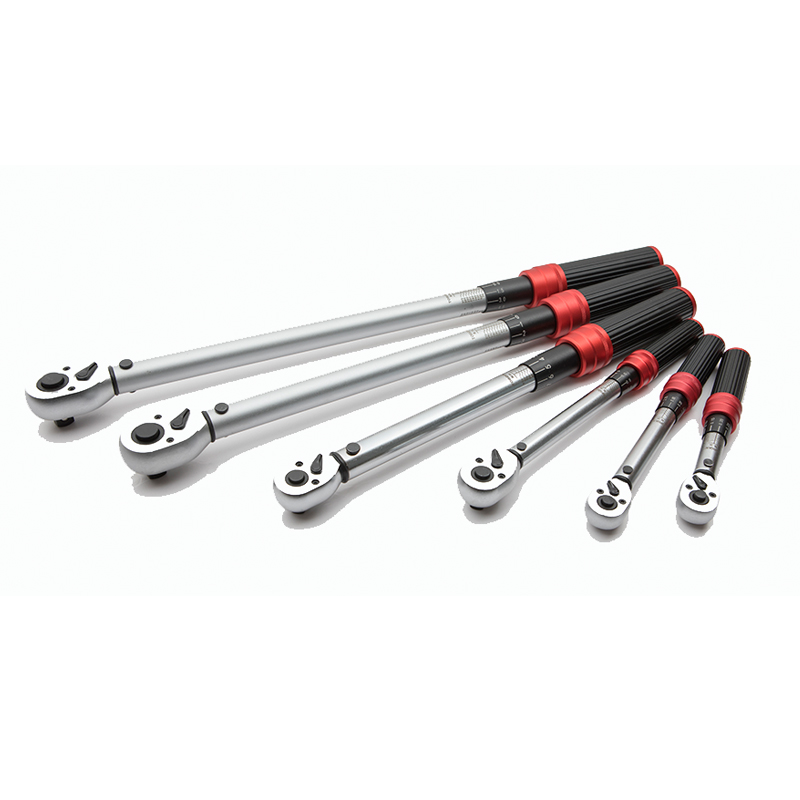
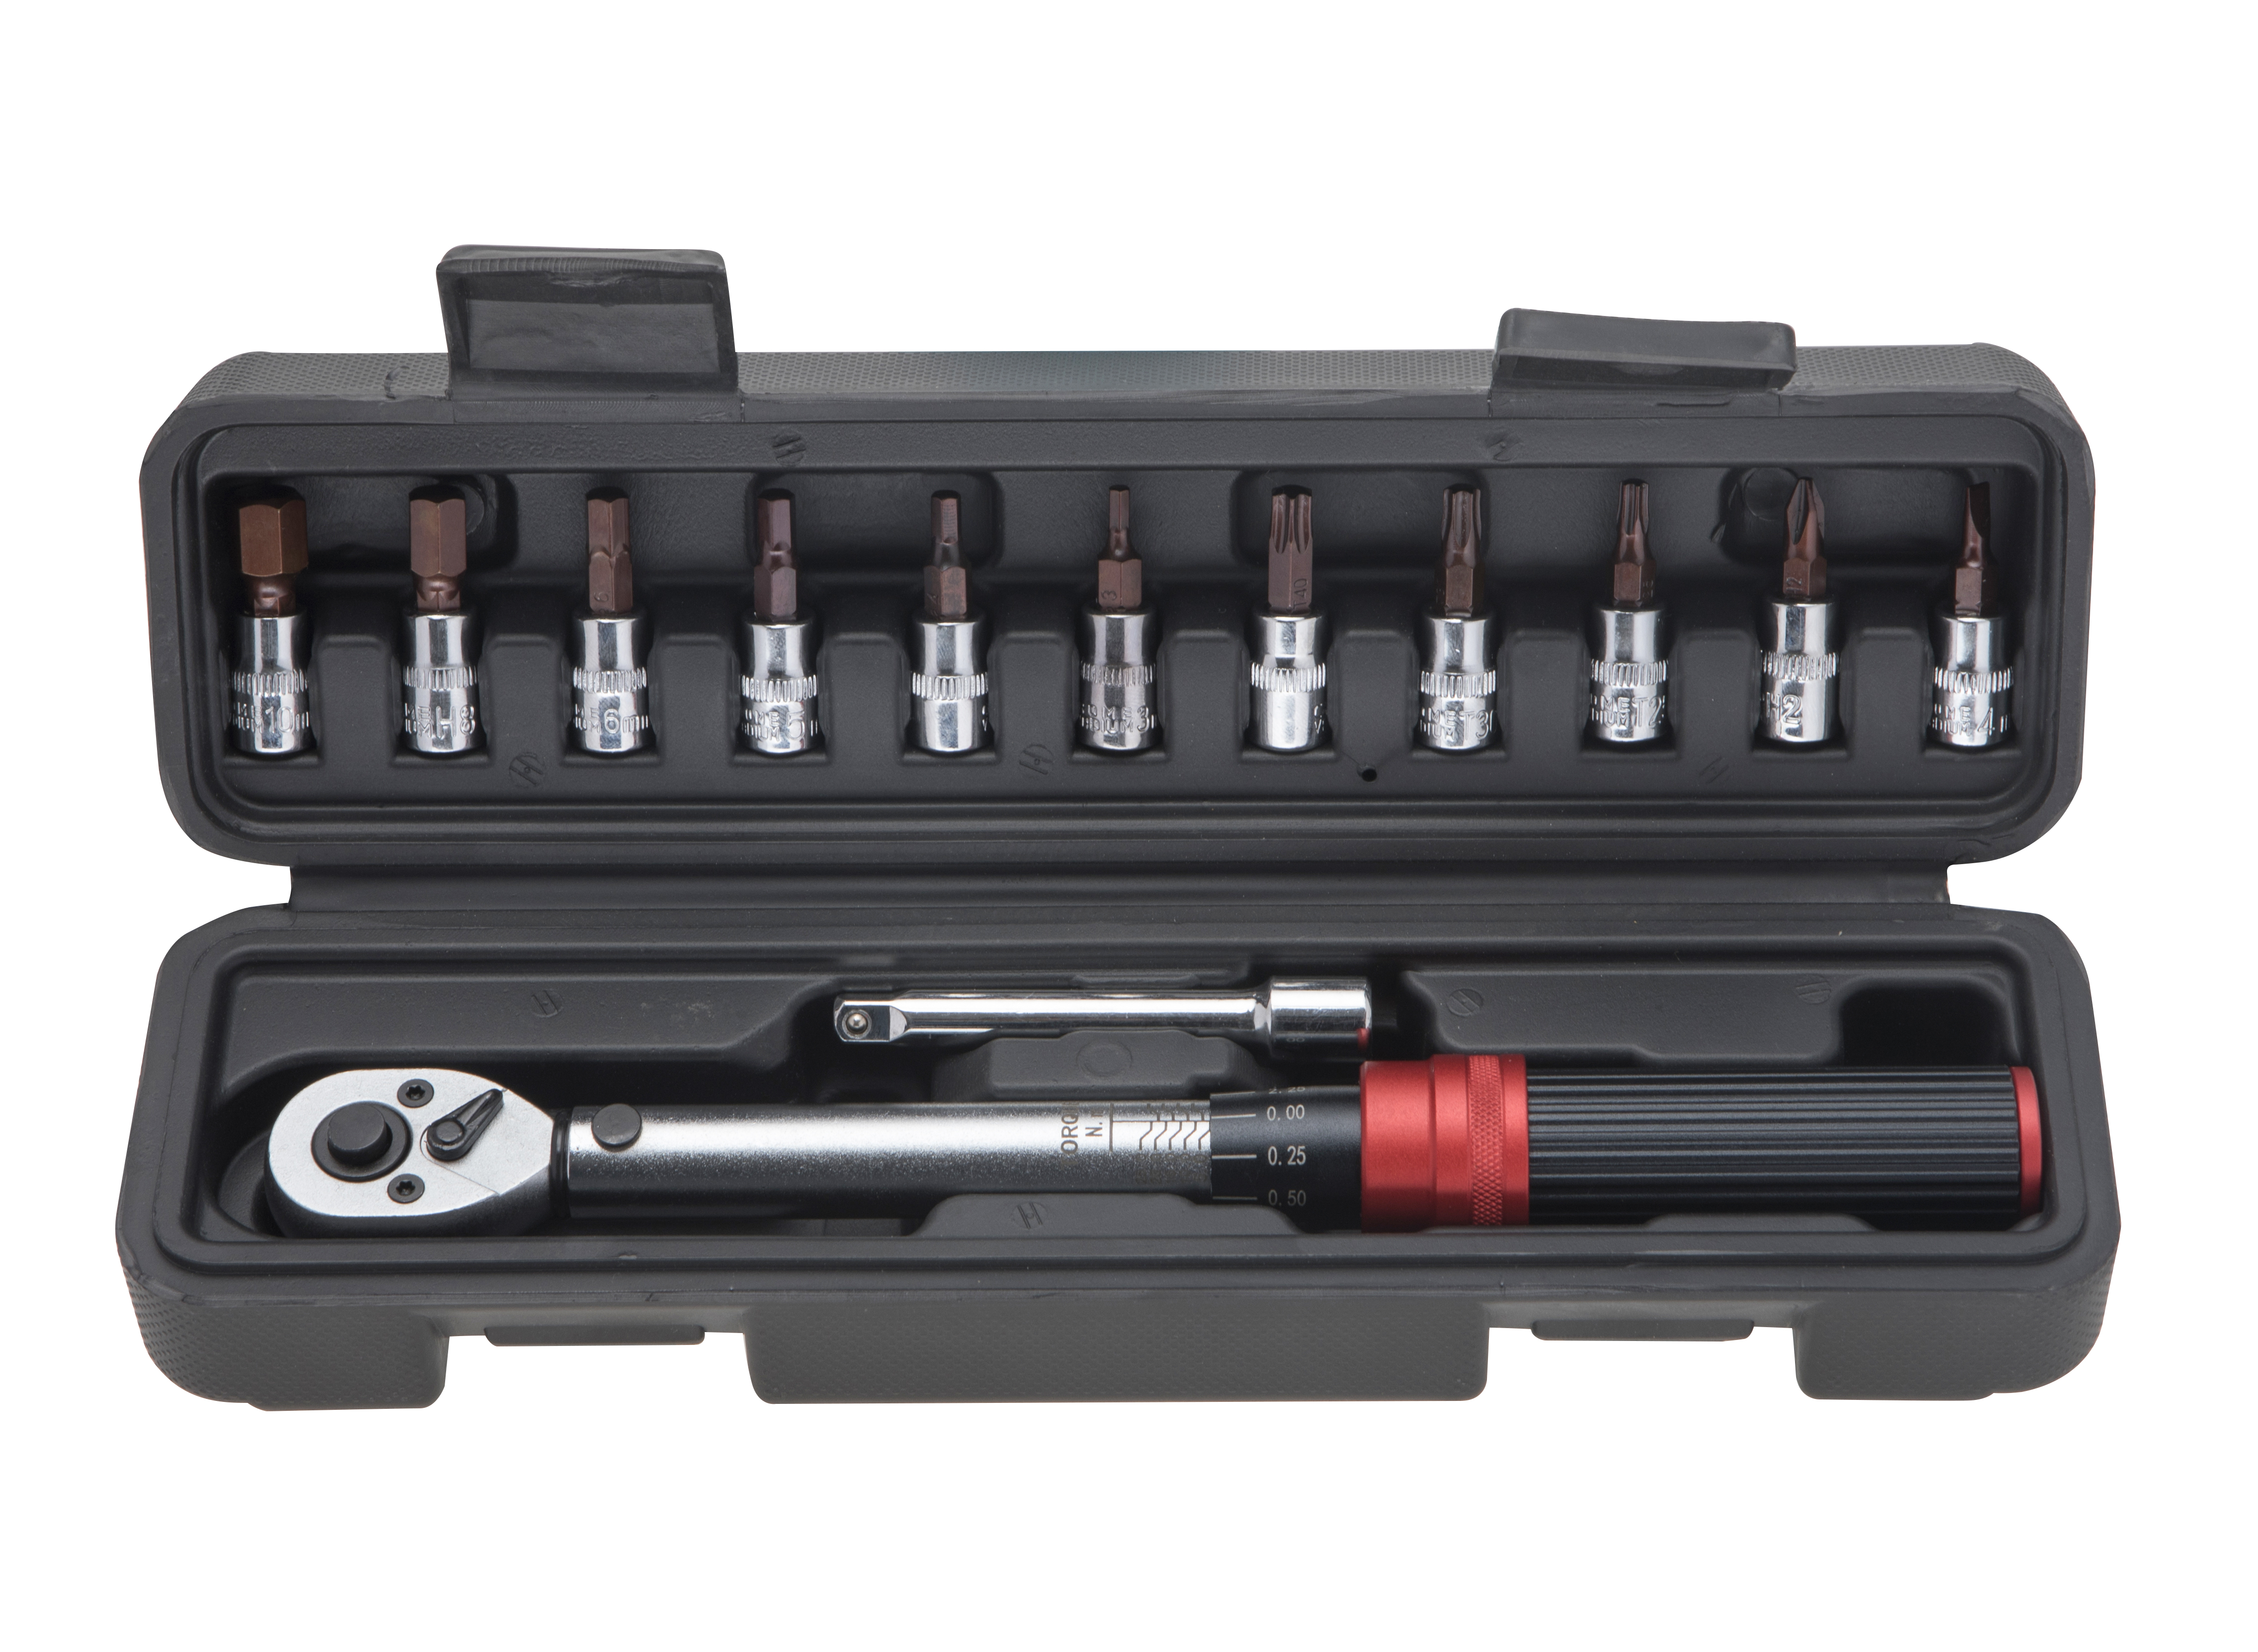
· A torque wrench (1/2” drive is best for wheel lugs—most have a 80–150 ft-lb range, which covers most cars/trucks).
· A socket that fits your wheel lugs (usually 17mm, 19mm, or 21mm—check your vehicle manual).
· A jack and jack stands (never rely on just a jack—jack stands keep the car stable while you work).
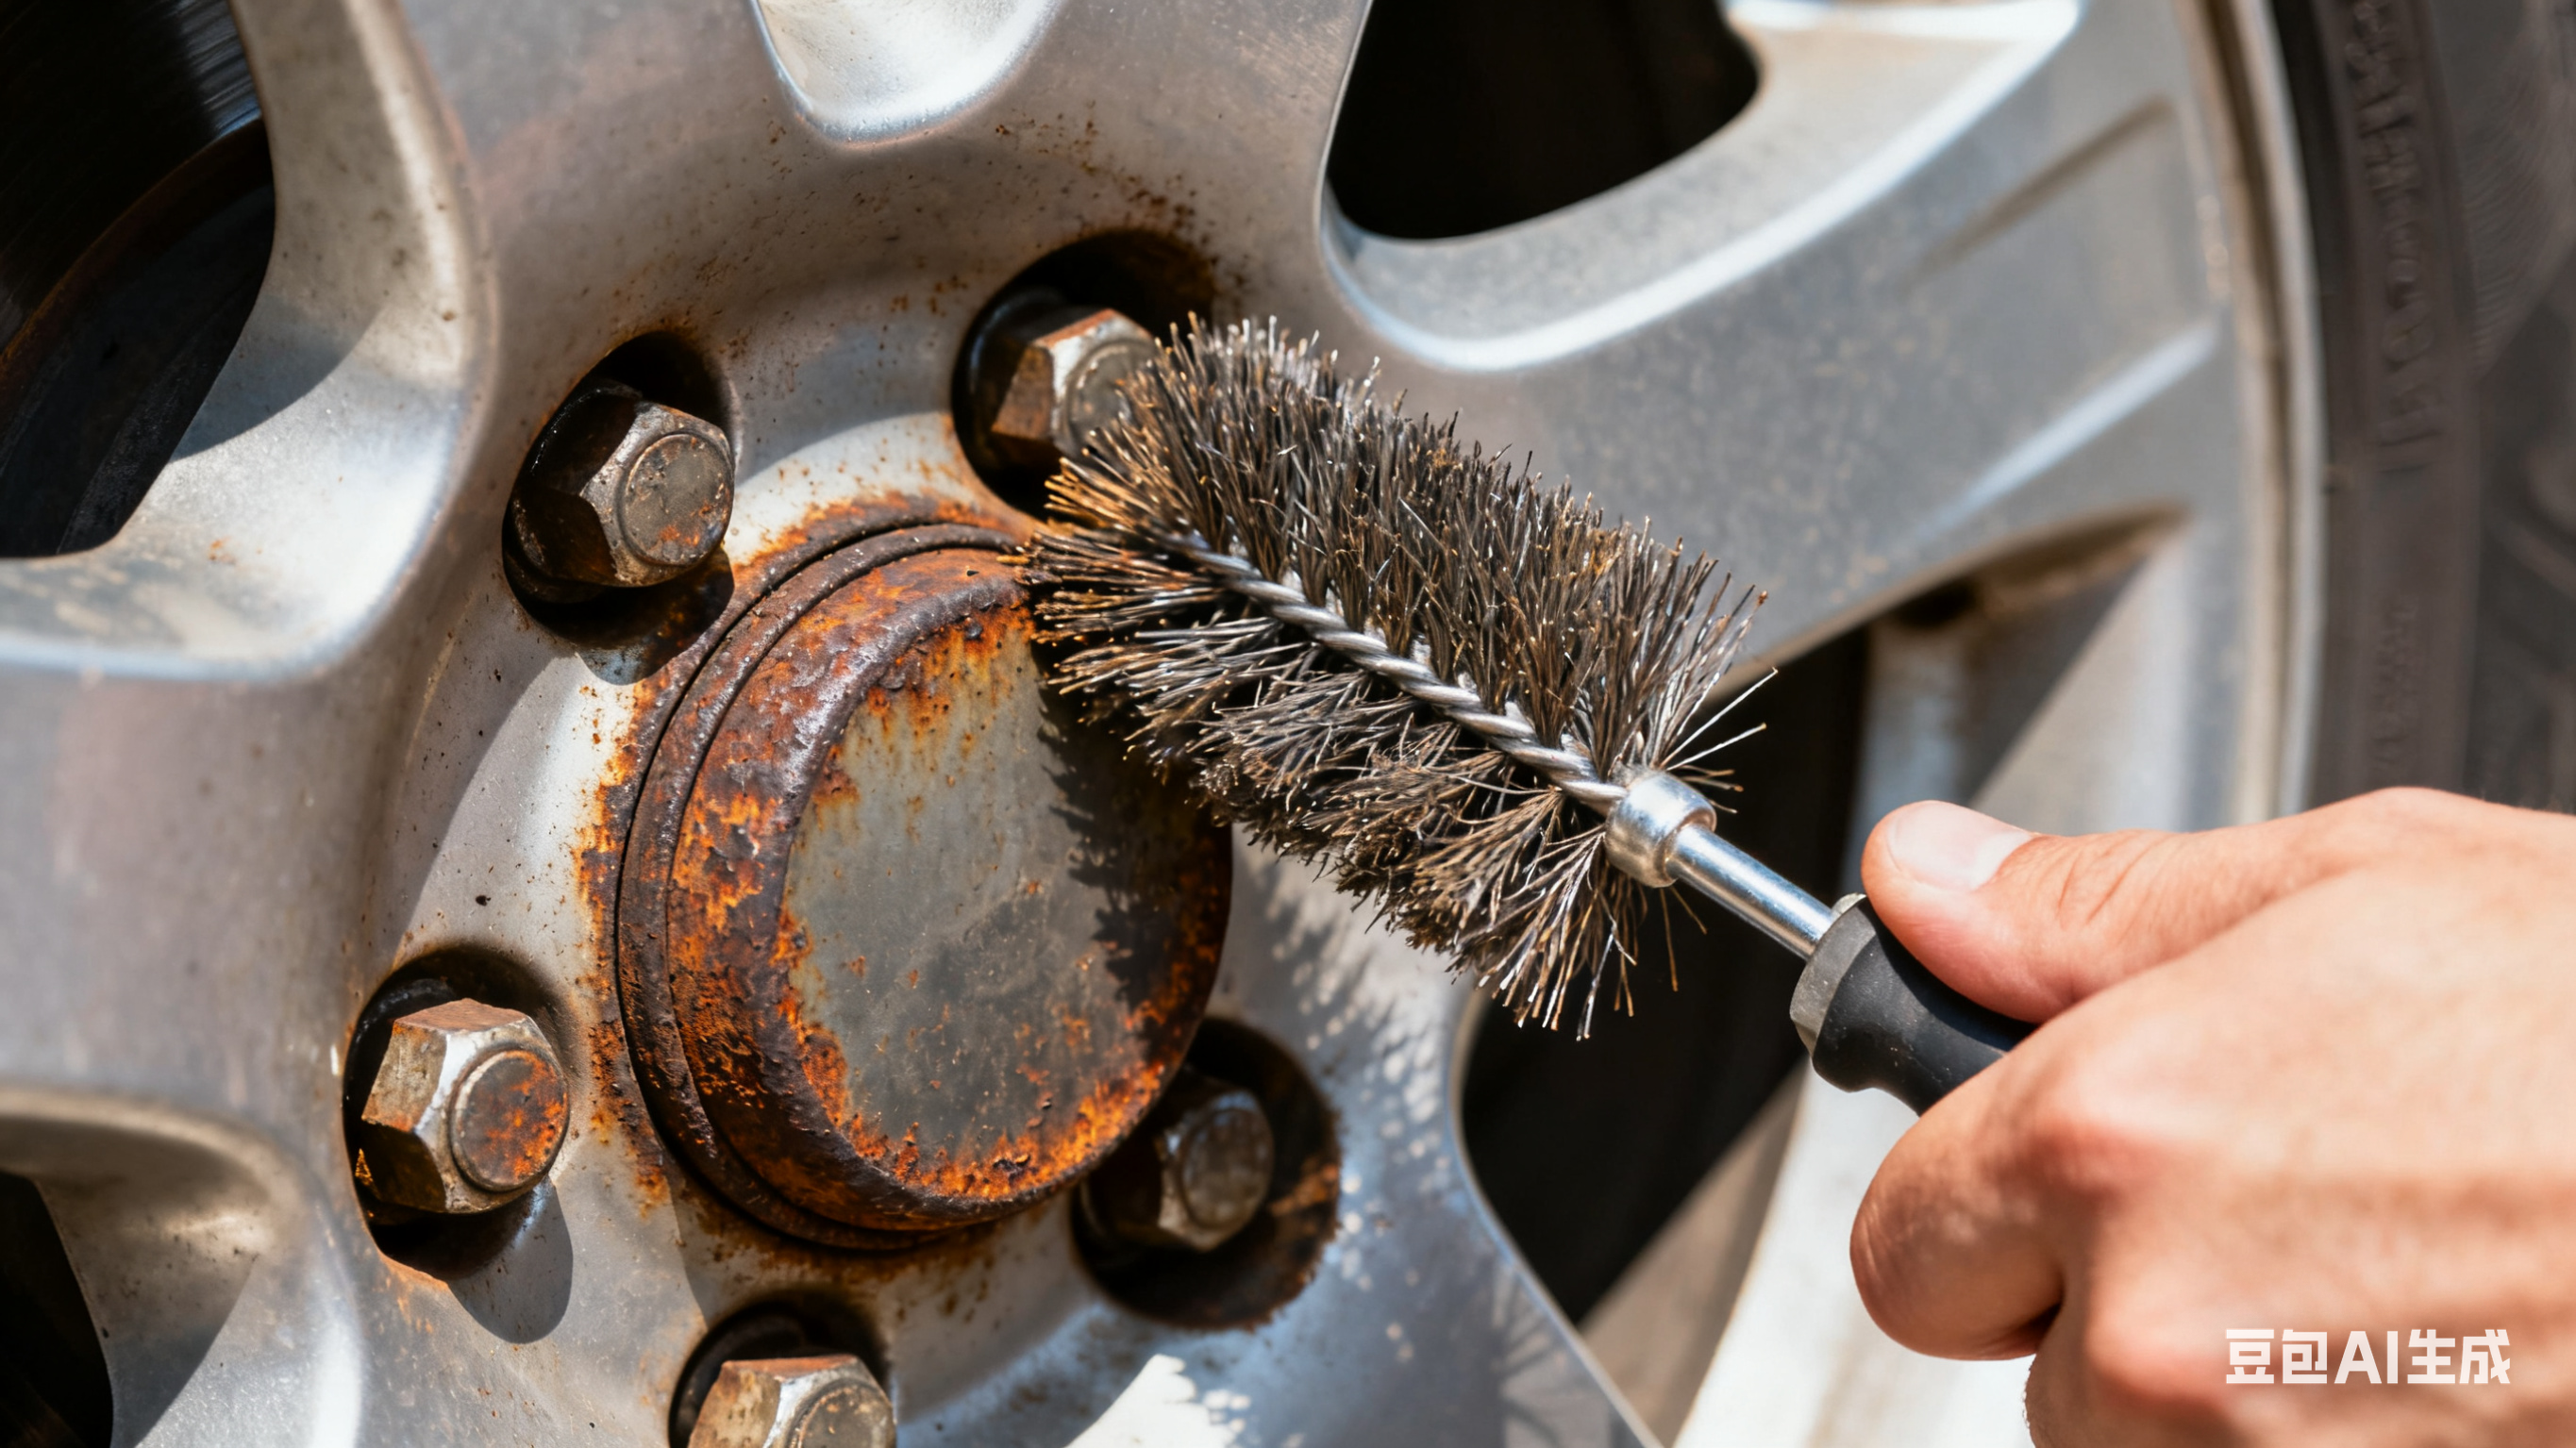
· A wire brush (to clean dirt/rust from the lug bolts and wheel hubs—debris can affect torque accuracy).
Step 2: Prep the Wheel & Lugs
1. Park the car on a flat, level surface (avoid gravel or grass—use concrete for stability).
1. Loosen the wheel lugs slightly with a regular wrench (turn counterclockwise) before jacking the car—this prevents the wheel from spinning when you lift it.
1. Jack up the car until the wheel is off the ground, then place jack stands under the frame (follow your manual’s guide for jack stand placement—never put them under the suspension).
1. Remove the loose lugs, take off the wheel, and use the wire brush to clean the lug bolts and the wheel’s hub (dirt here can make lugs feel “tight” before they’re properly torqued).
Step 3: Torque the Lugs in the Correct Pattern
1. Put the wheel back on the hub, then hand-tighten the lugs until they’re snug (don’t use any tools yet—hand-tight ensures they’re aligned).
1. Set your torque wrench to the spec from your vehicle manual (common values: 80–100 ft-lbs for cars, 120–150 ft-lbs for trucks/SUVs).
1. Tighten the lugs in a star pattern (also called a “crisscross pattern”)—this ensures even pressure on the wheel. For a 5-lug wheel, the pattern is: 1 → 3 → 5 → 2 → 4 (label the lugs 1–5 in a circle to avoid confusion).
1. Apply force slowly to the wrench—stop immediately when you hear the “click.” Repeat the pattern twice to ensure all lugs are evenly torqued (the first pass sets the base, the second confirms consistency).
Step 4: Final Checks
1. Lower the car off the jack stands and remove the jack.
1. Give each lug a quick “double-check” with the torque wrench (you shouldn’t hear a second click—if you do, the lug was under-tightened on the first pass).
1. Drive the car gently for 10–15 miles, then recheck the lugs—sometimes lugs settle slightly after initial use, and a quick retorque ensures safety.


