New Drivers' Guide: How to Check if Your Tire Pressure is Safe
For new drivers, mastering the basics of vehicle safety can feel overwhelming. Among the many things to monitor, tire pressure often gets overlooked—but it’s one of the most critical factors for safe driving. Incorrect tire pressure affects handling, fuel efficiency, and even increases the risk of accidents. The good news? Checking if your tire pressure is safe is simpler than you think. Here’s a step-by-step guide tailored for new drivers.
Step 1: Find Your Car’s Recommended Pressure (Not the Tire’s!)
This is the first mistake many new drivers make: relying on the number printed on the tire itself. That number (usually labeled “MAX PRESSURE”) is the maximum the tire can handle, not what your car needs. Your vehicle’s ideal pressure is determined by its weight, design, and performance, and it’s specified by the manufacturer.
Where to find it? Check these spots:
- The sticker on the driver’s side door jamb (most common).
- The inside of the fuel tank cap.
- Your owner’s manual (look for “tire pressure” or “maintenance” sections).
The recommended pressure is typically listed in PSI (pounds per square inch), kPa (kilopascals), or bar. For example, a small sedan might recommend 32 PSI for front tires and 30 PSI for rear tires. Take a photo of this information on your phone—it’s easy to forget!
Step 2: Check Pressure the Right Way
Once you know the target number, you need an accurate reading. Here’s how to do it correctly:
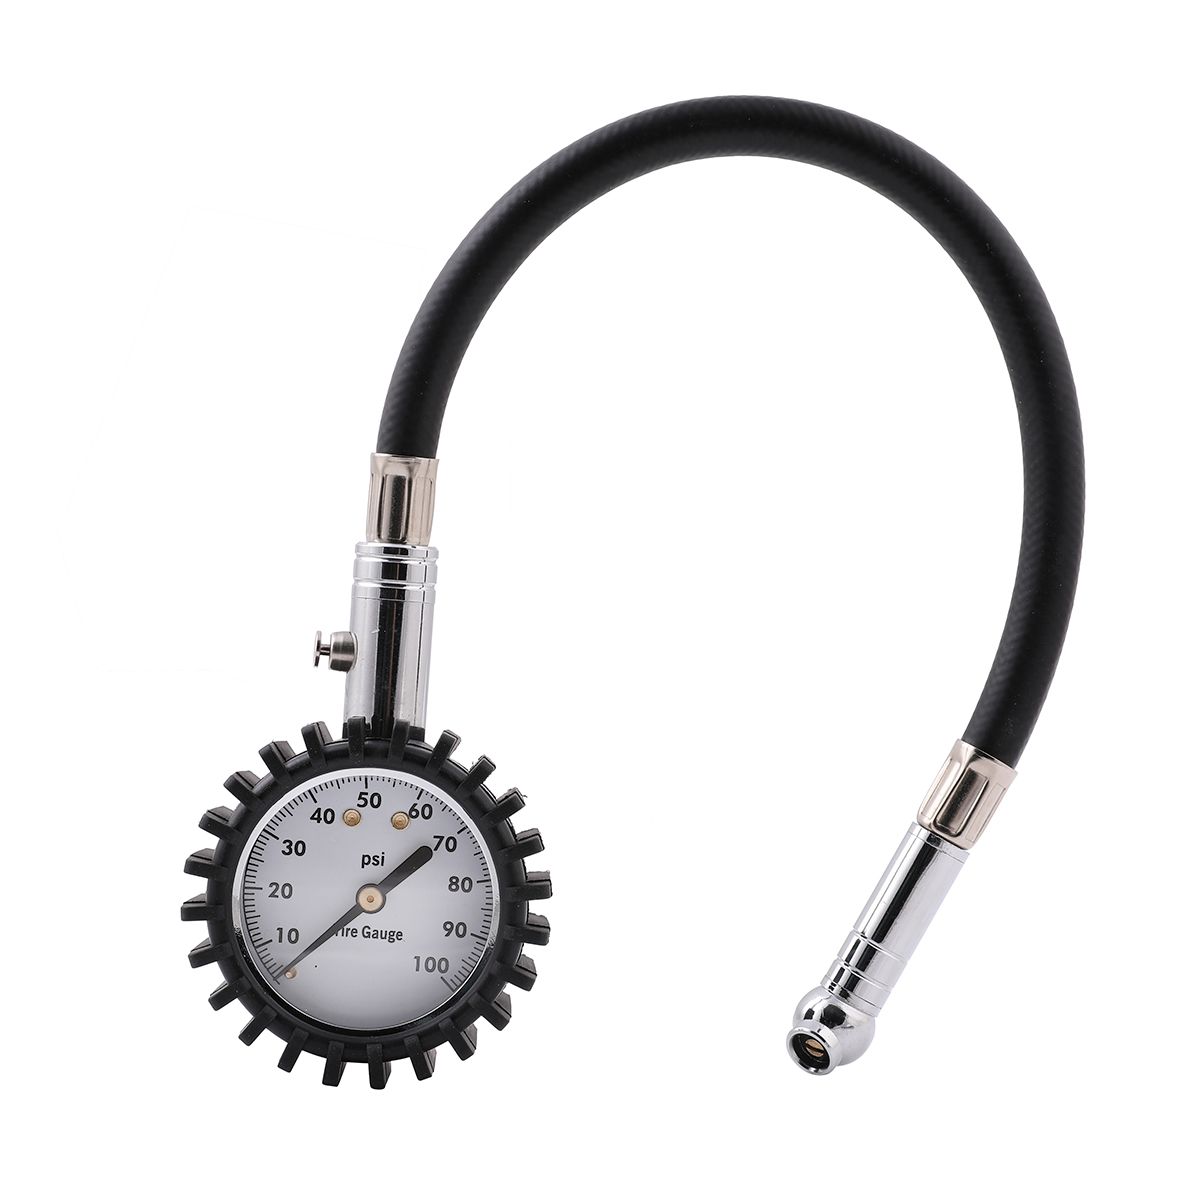
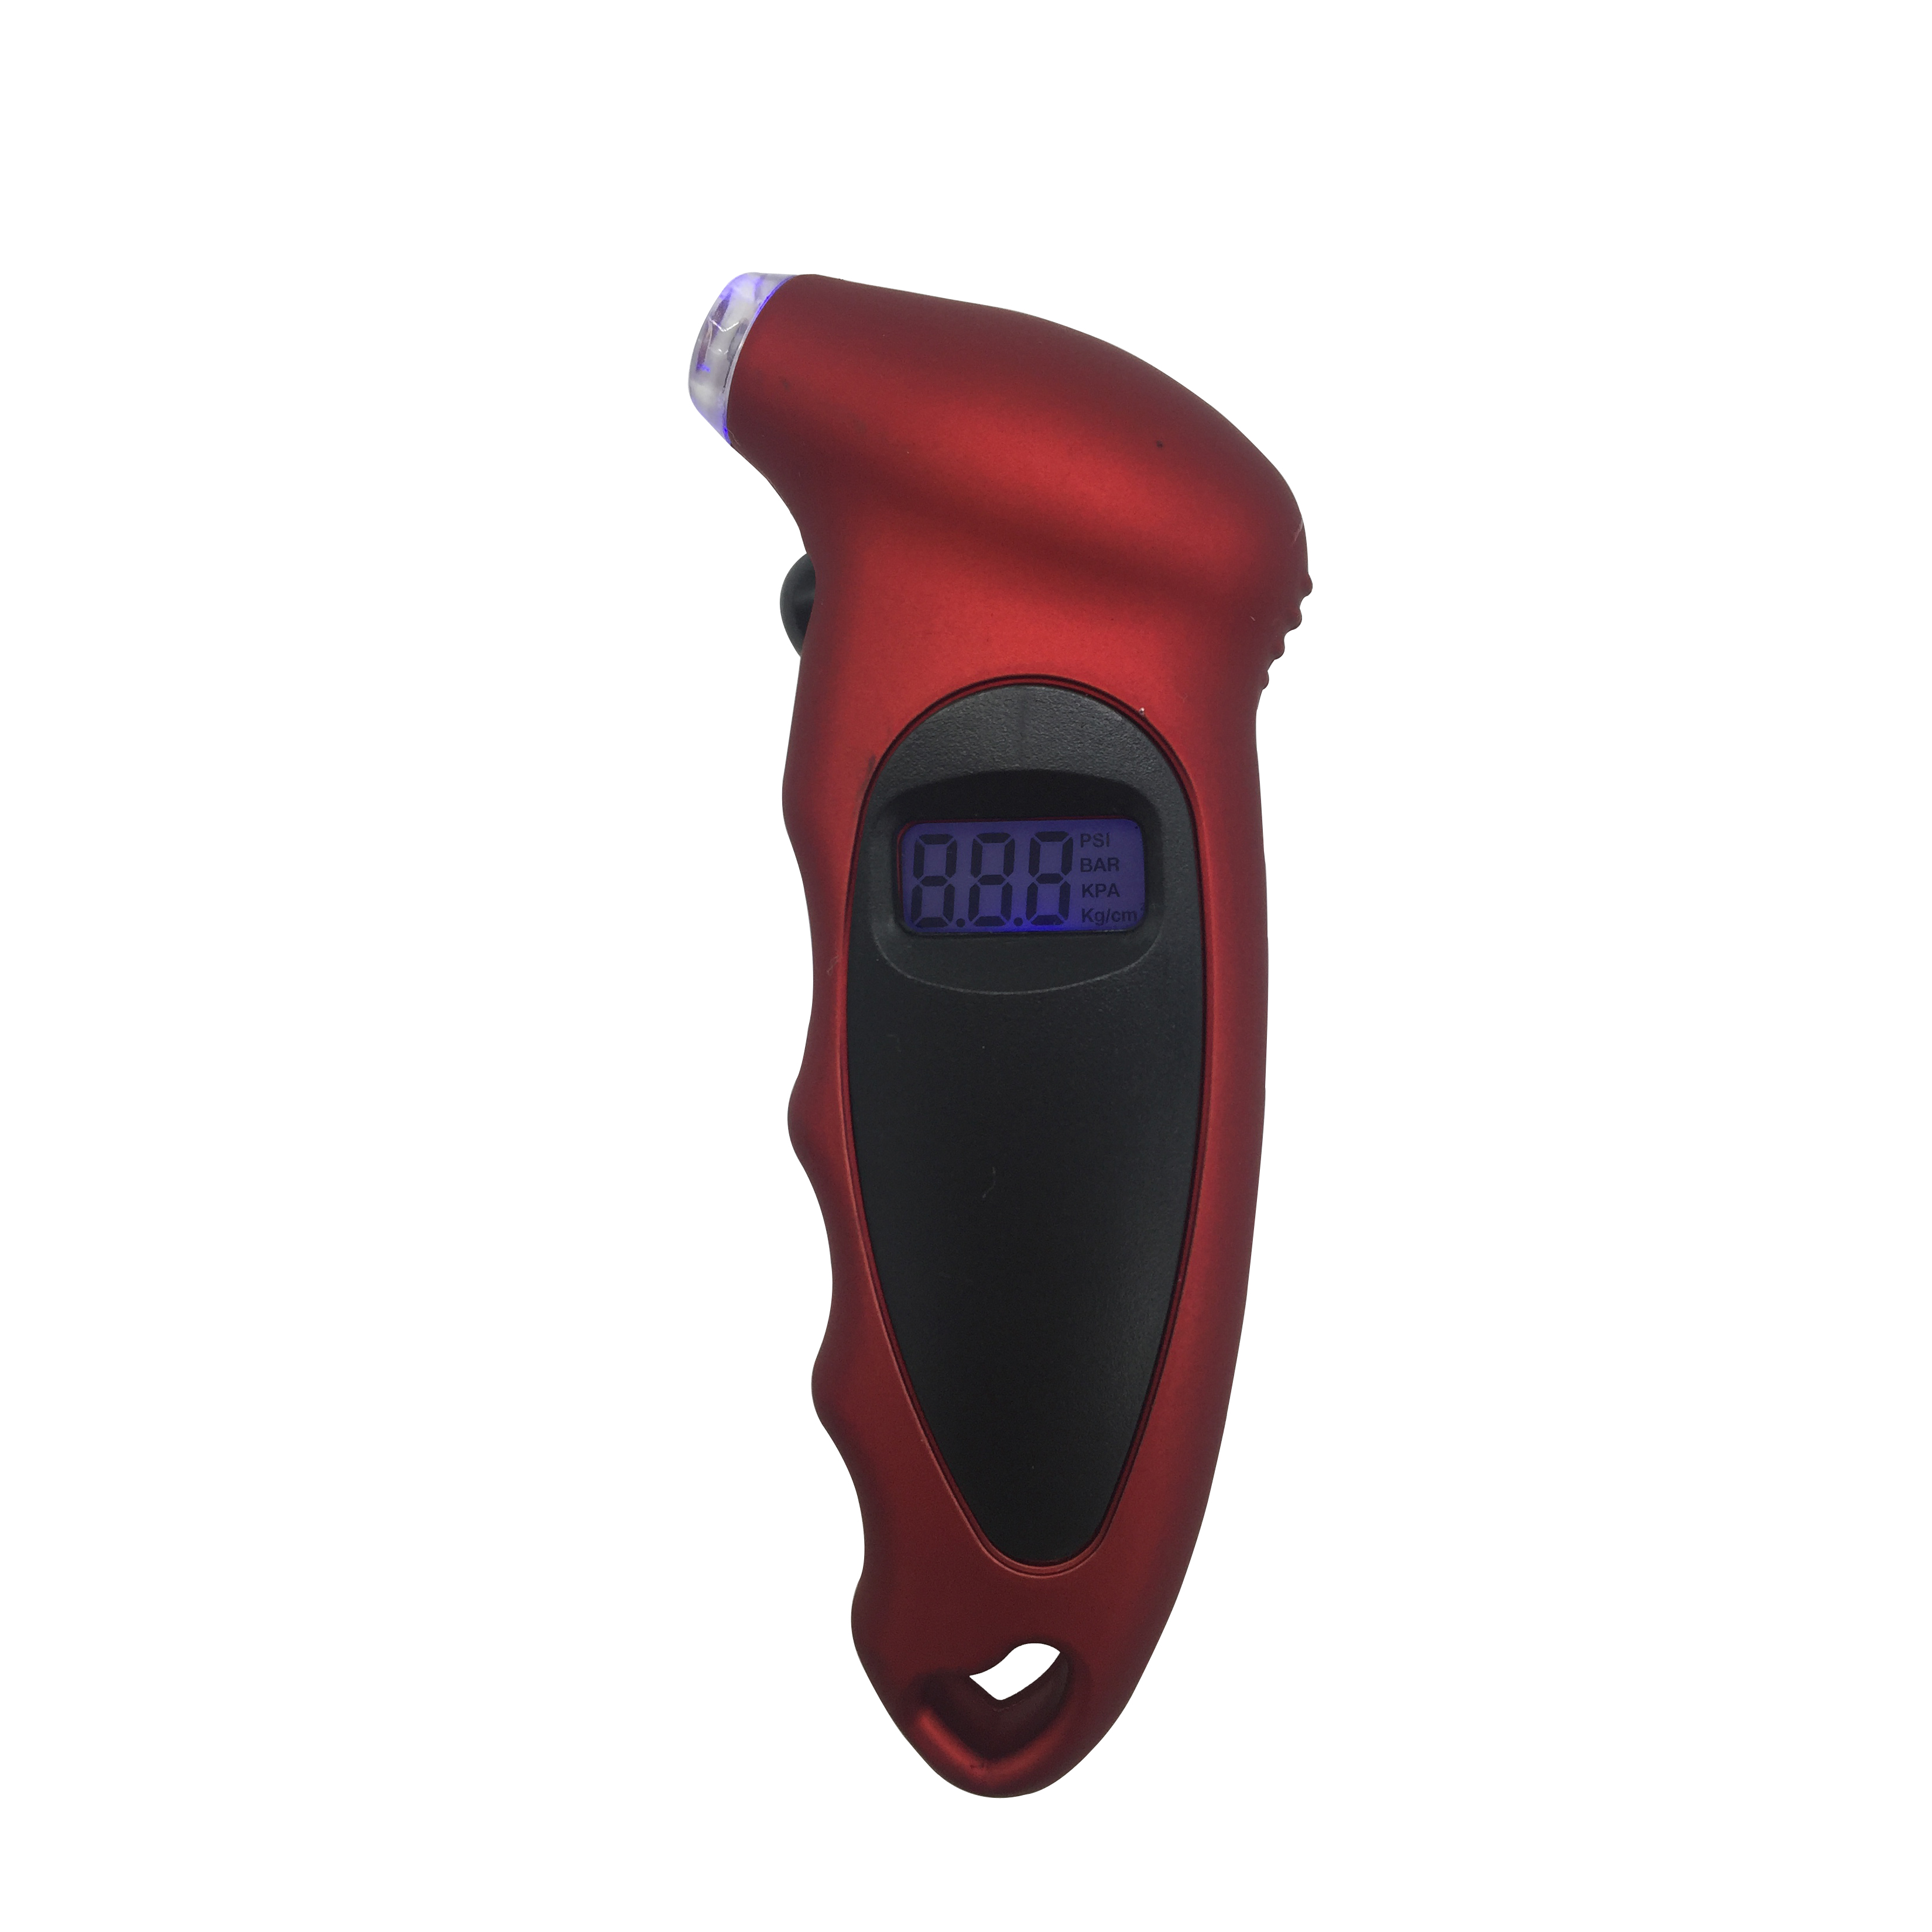
Use a reliable gauge: Skip gas station gauges—they’re often inaccurate from overuse. A digital tire pressure gauge (affordable and easy to use) or a quality analog gauge is a smart investment.
Check when tires are cold: Tire pressure rises as tires heat up from driving. For a true reading, check pressure when the car hasn’t been driven for at least 3 hours, or after driving less than a mile. This ensures the pressure isn’t artificially inflated by heat.
How to measure: Remove the valve cap from the tire, press the gauge firmly onto the valve stem (you’ll hear a quick hiss if it’s sealed), and wait for the reading. Compare it to your car’s recommended pressure.
Step 3: Understand What the Numbers Mean
Now that you have a reading, what does it tell you?
- Underinflated (below recommended): If the reading is 5+ PSI lower than recommended, add air. Underinflated tires flex too much, creating excess heat that can cause blowouts. They also make steering feel heavy and reduce fuel efficiency—costing you more at the pump.
- Overinflated (above recommended): If the reading is 5+ PSI higher, release air by pressing the small pin in the valve stem (recheck after to avoid overdoing it). Overinflated tires have less contact with the road, reducing traction—dangerous in wet or icy conditions. They also wear out faster in the center.
- Just right: If the reading matches (or is within 1-2 PSI of) the recommended pressure, you’re good to go!
Bonus Tips for New Drivers
- Check all tires, including the spare: A flat spare is useless in an emergency. Check it every 6 months.
- Monitor regularly: Tires lose 1-2 PSI monthly. Make it a habit to check once a month, or before long trips.
- Watch for warning signs: Uneven tread wear (edges or center) or a “spongy” feel while driving can signal pressure issues. Modern cars also have a TPMS light—if it lights up, check pressure immediately.
Checking tire pressure takes less than 5 minutes, but it’s a skill that keeps you safe, saves money, and builds confidence behind the wheel. For new drivers, it’s one of the easiest ways to take control of your vehicle’s health. Start today—your car (and your peace of mind) will thank you.
Safe driving!
Related products: