For new drivers, vehicle maintenance tasks like checking tire pressure can feel overwhelming. But with a simple step-by-step approach, anyone can master this essential skill in no time. You don’t need advanced tools or mechanical knowledge—just a little patience and the right supplies.
First, gather your tools. You’ll need a tire pressure gauge (digital or analog works, but digital is easier for beginners) and a small notebook to jot down readings. Next, find your vehicle’s recommended tire pressure. This critical number isn’t on the tire itself—it’s located on a sticker inside the driver’s side door frame, in the owner’s manual, or sometimes in the glove box. Write this number down so you can reference it easily.
Wait until your tires are cold. “Cold tires” mean your car hasn’t been driven for at least three hours, or no more than a mile at low speed. Driving warms up the air inside tires, making pressure readings higher than they actually are. Once the tires are cold, remove the valve cap from one tire and keep it in a safe place (like your pocket) so you don’t lose it.
Press the gauge onto the valve stem firmly—you should hear a small “hiss” of air, but not a continuous leak. Hold it for a few seconds until the gauge displays a reading. Compare this number to your vehicle’s recommended pressure. If it’s too low, add air at a gas station or with a portable air compressor. Add a little at a time, then recheck—overinflating is harder to fix than underinflating. If it’s too high, press the small pin in the center of the valve stem with the gauge to release air, then recheck.
Repeat this process for all four tires, including the spare (yes, even the spare!). Put the valve caps back on tightly to keep out dirt and moisture. Finally, write down the date and readings in your notebook—this helps you track changes over time. With practice, this process will take less than five minutes, and you’ll feel confident knowing your tires are safe.
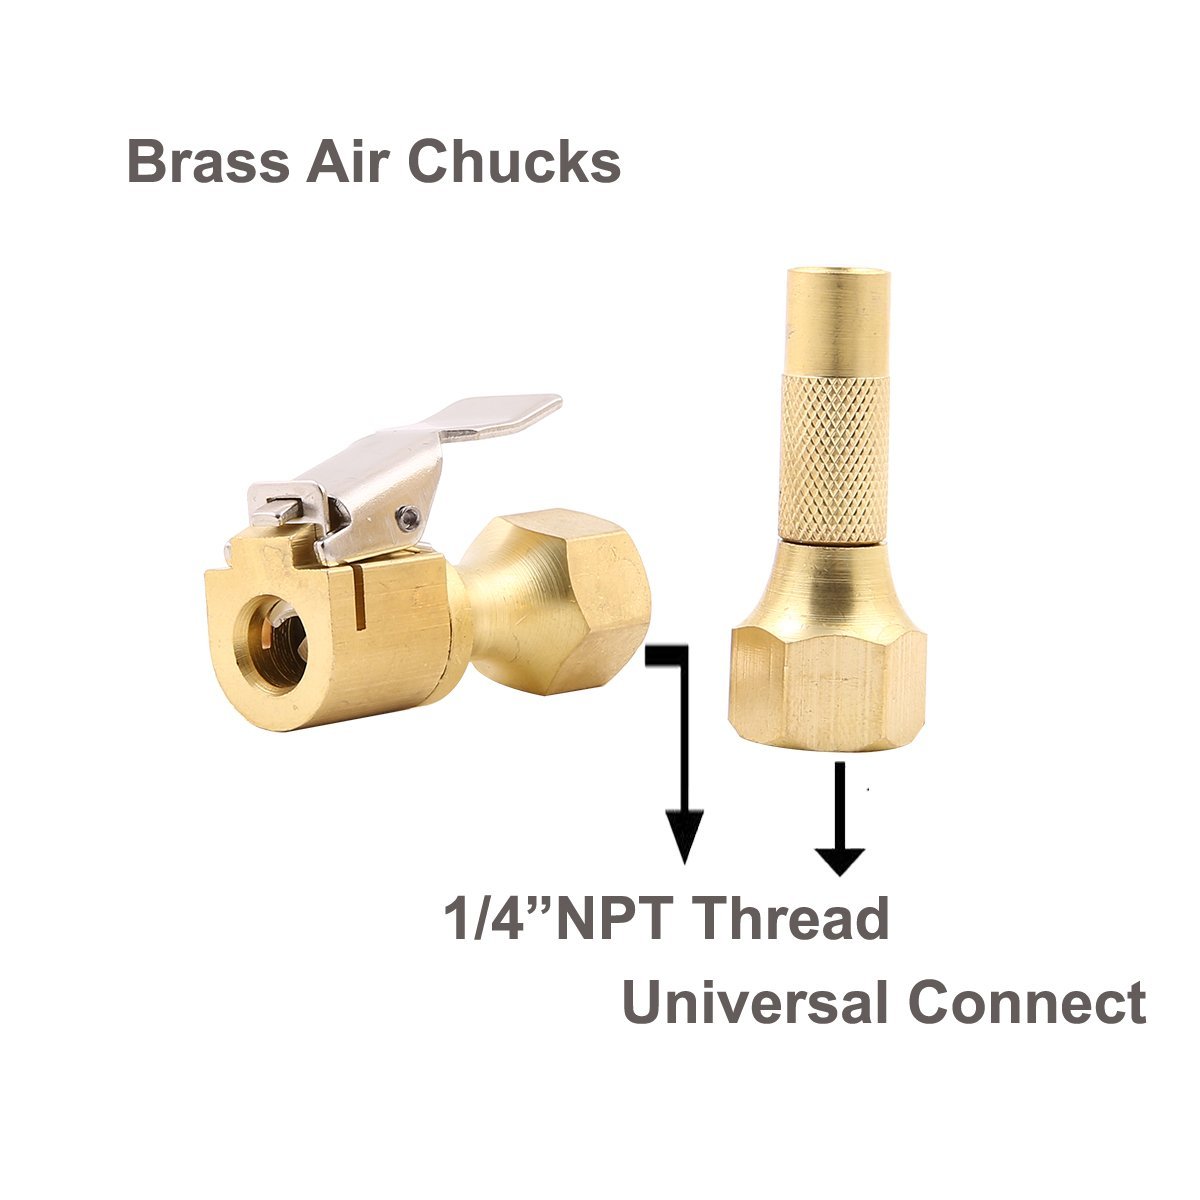
Related to this production