How to Maintain Your Torque Wrench for Longevity
A well-maintained torque wrench can last 10+ years—here’s how to keep yours in top shape:
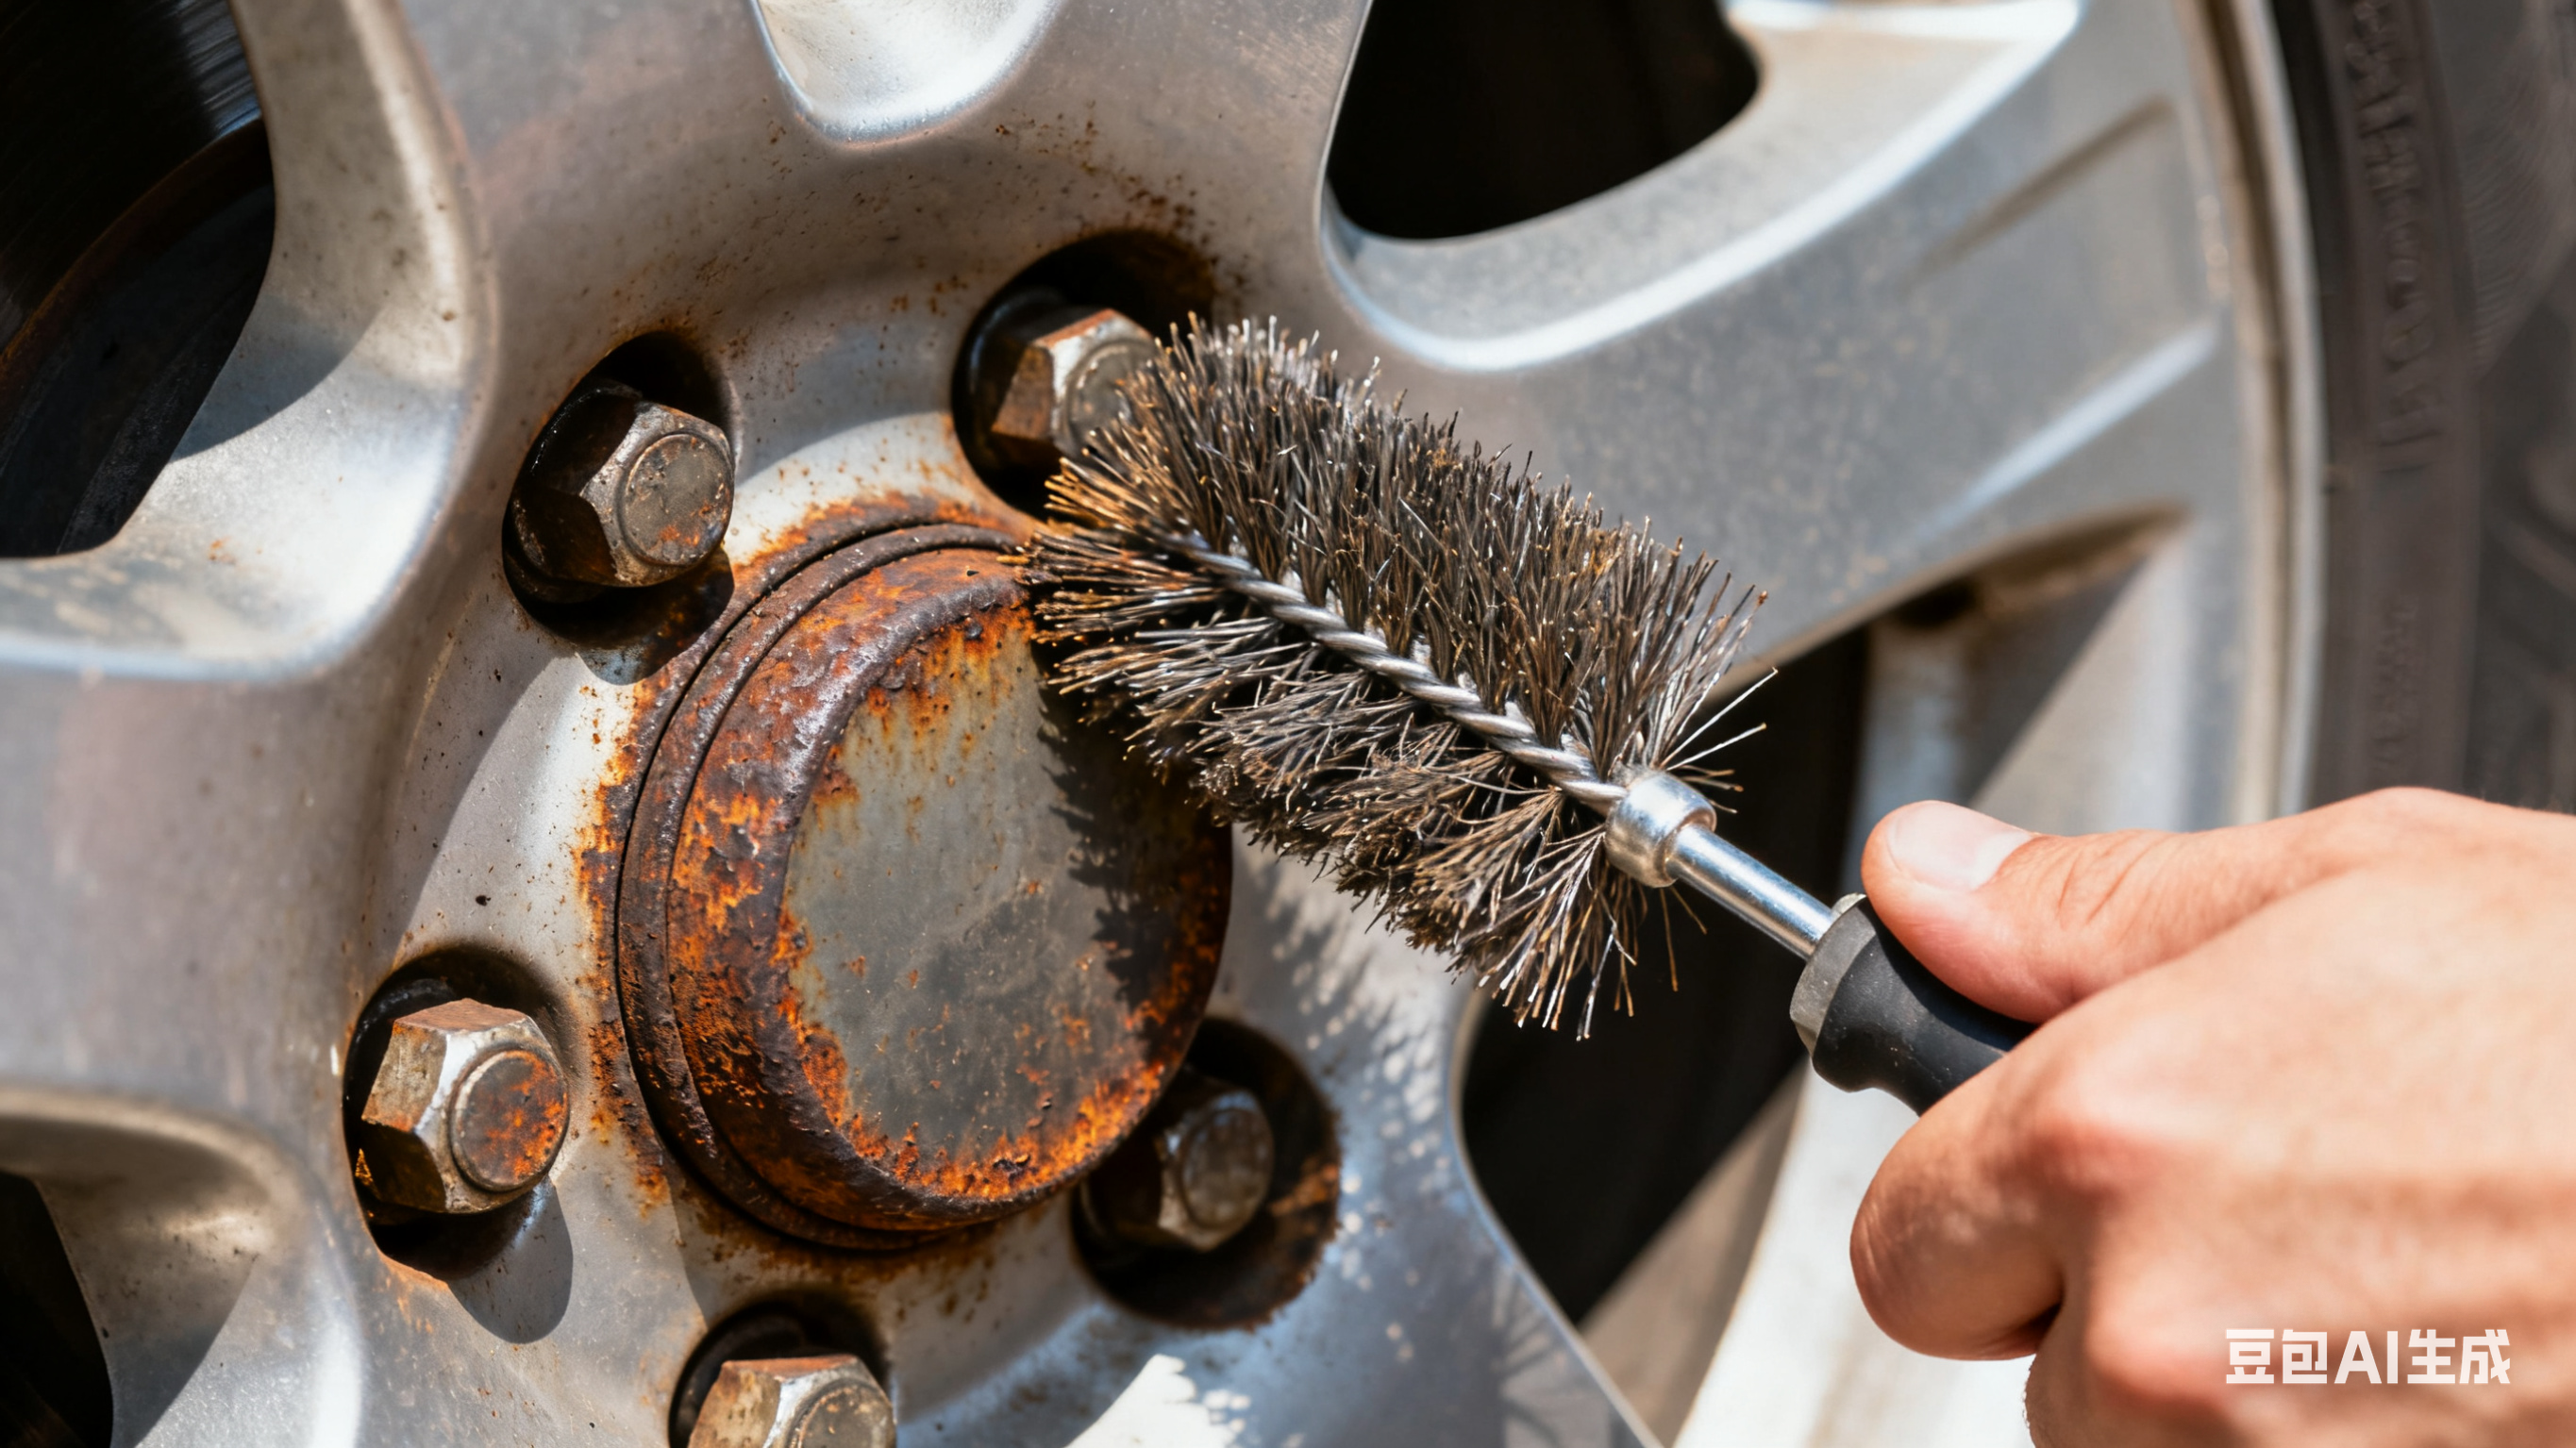
1. Clean It After Every Use: Wipe down the wrench with a clean, dry cloth to remove dirt, oil, or grease. If it’s extra dirty (e.g., after working on a greasy engine), use a mild solvent (like mineral spirits) on a cloth—never soak the wrench in liquid, as this can damage internal parts. Dry it thoroughly afterward to prevent rust.
1. Lubricate the Drive End: The square drive (where you attach sockets) can seize up if it’s dry. Every 3–6 months, apply a small amount of lithium grease or tool oil to the drive. Move the drive back and forth to work the lubricant in—this keeps it smooth and prevents wear.
1. Store It Properly:
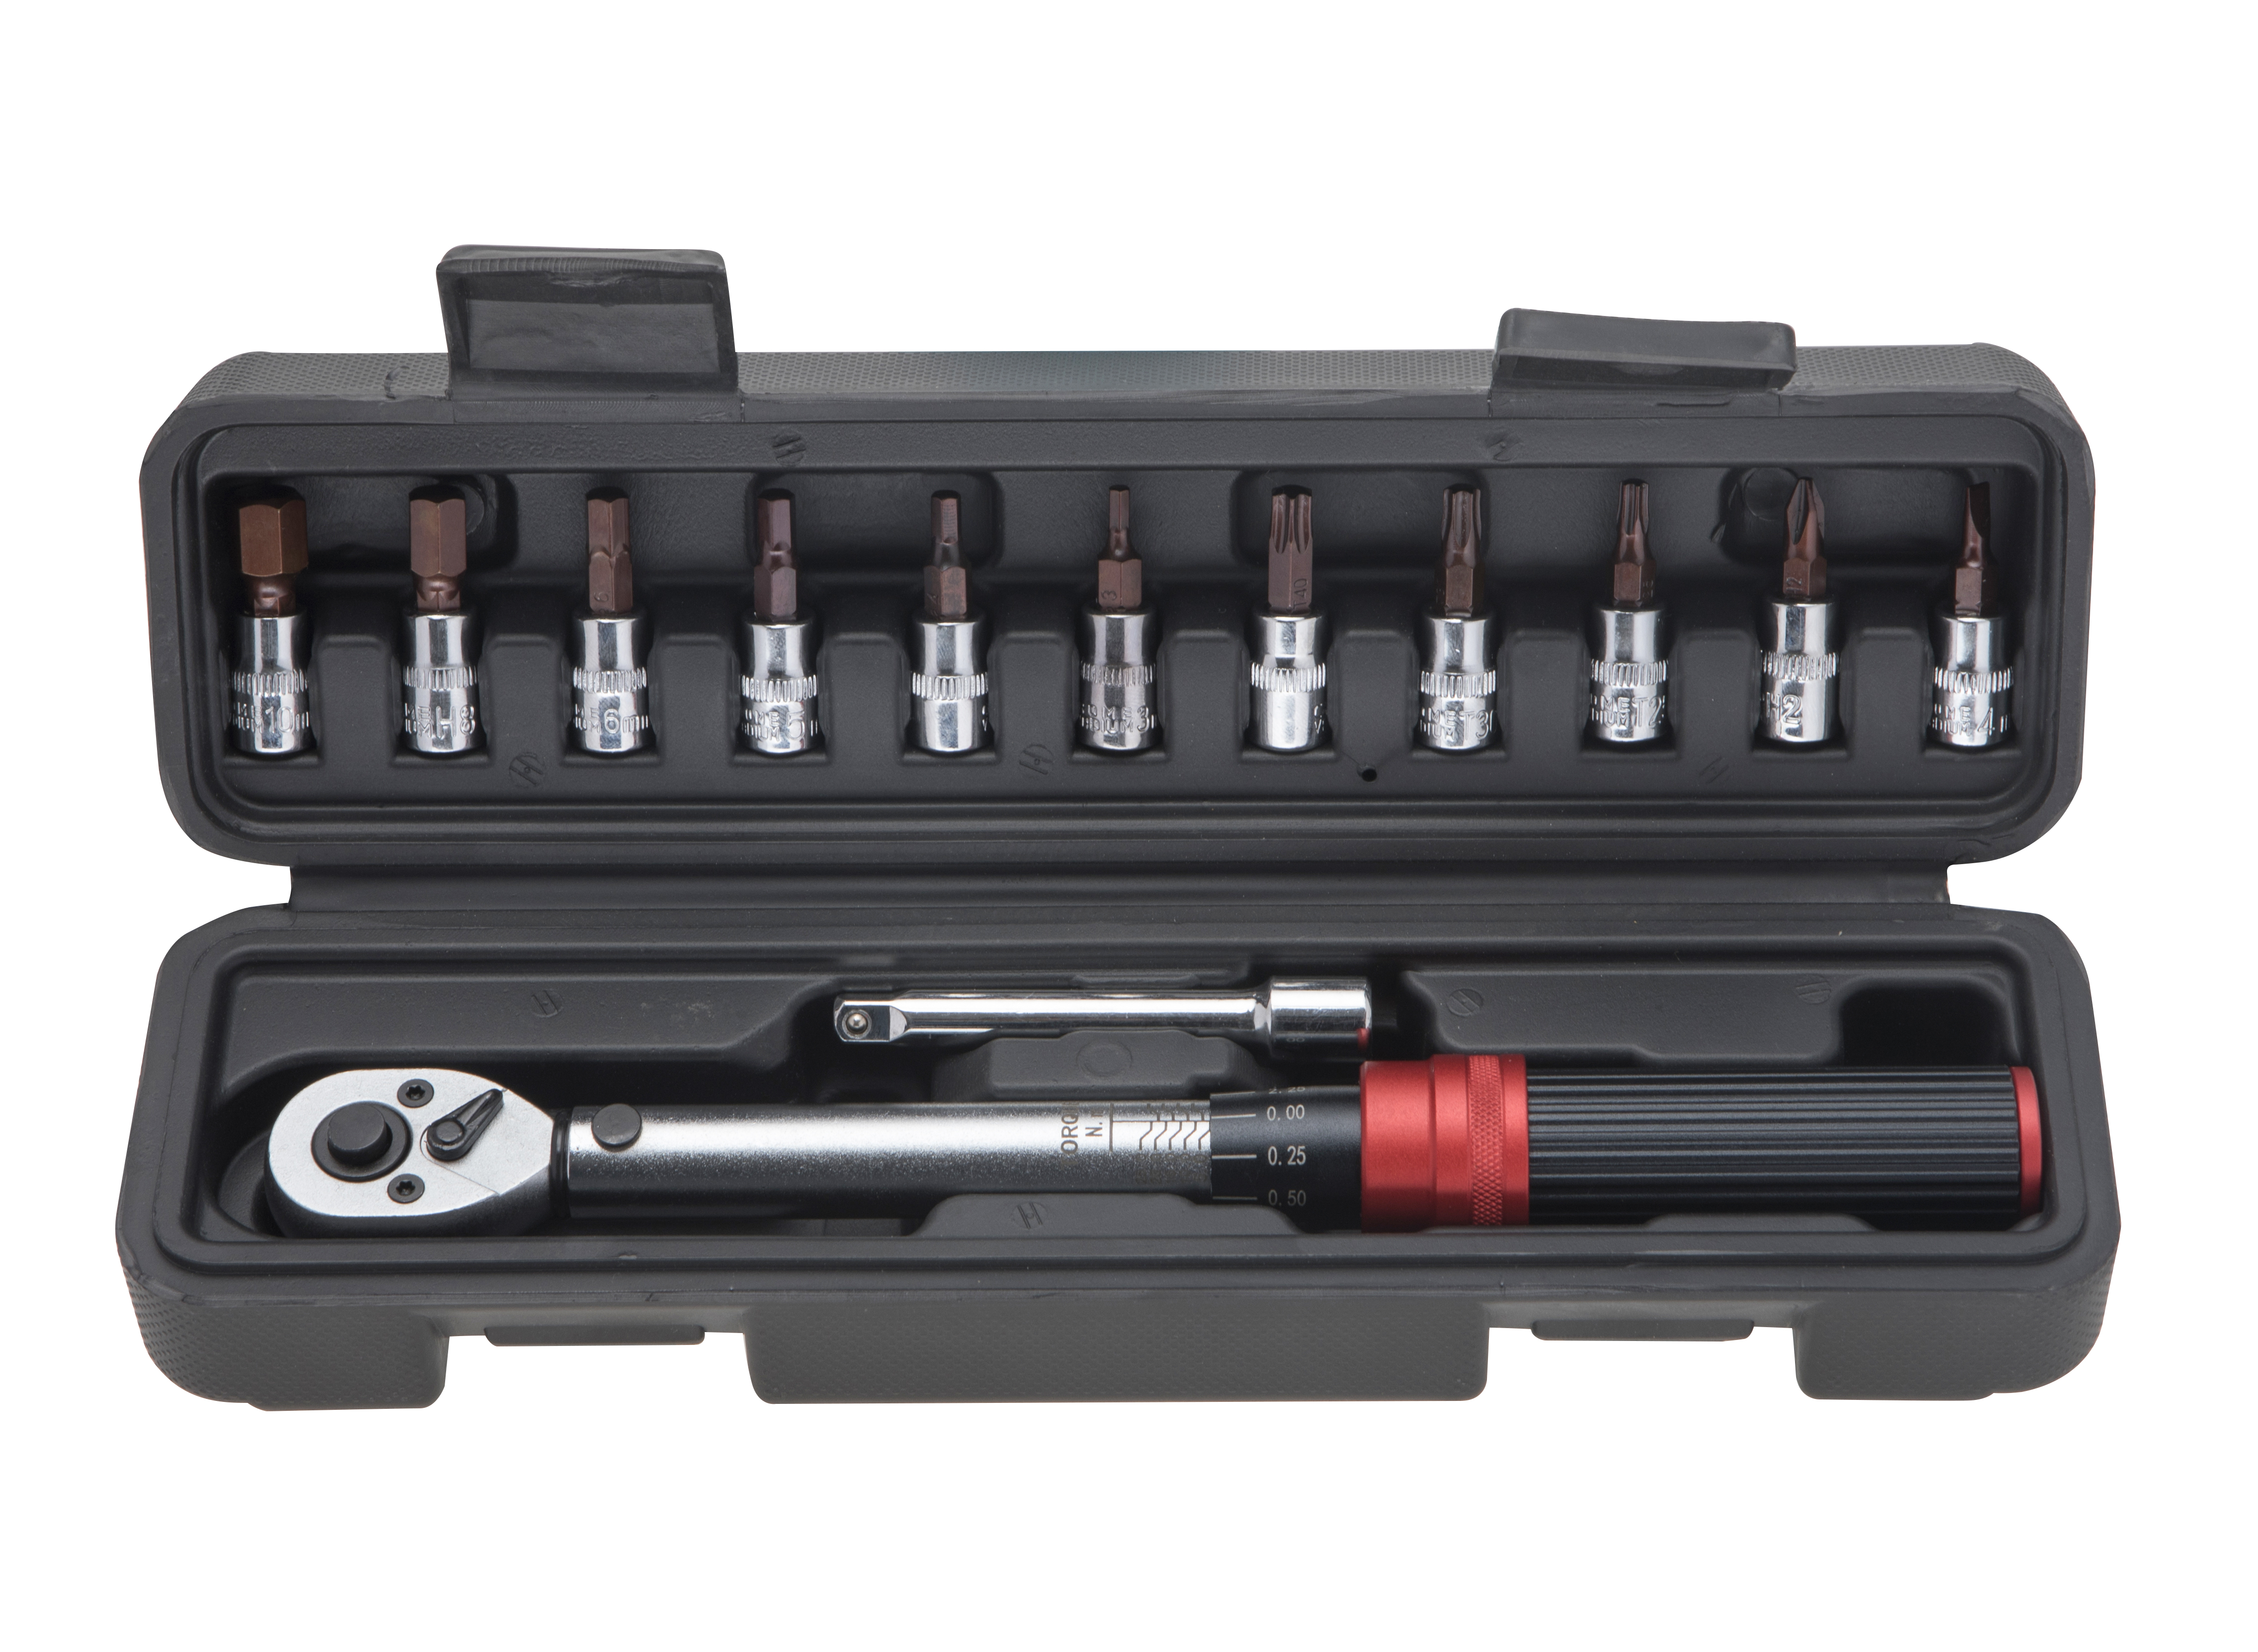
· Use the original storage case (most wrenches come with one) to protect it from dust, impacts, and moisture.
· Store it in a cool, dry place (avoid garages with extreme temperature changes or humidity—this can damage the spring and cause rust).
· Never hang the wrench by the handle (it can bend the beam on beam-type wrenches) or toss it in a toolbox without a case (it can get dented or scratched).
1. Reset the Torque After Use: As mentioned earlier, always turn the adjustment knob to the lowest setting when you’re done. This relieves tension on the internal spring—if you leave it set to a high torque, the spring will stretch over time and lose accuracy.
1. Inspect for Damage Regularly: Check the wrench for cracks, bent parts, or loose components (e.g., a wobbly drive end). If you notice any damage, stop using it immediately—even a small crack can affect torque accuracy or cause the wrench to break during use.


