Step-by-Step: How to Use a Click-Type Torque Wrench Correctly
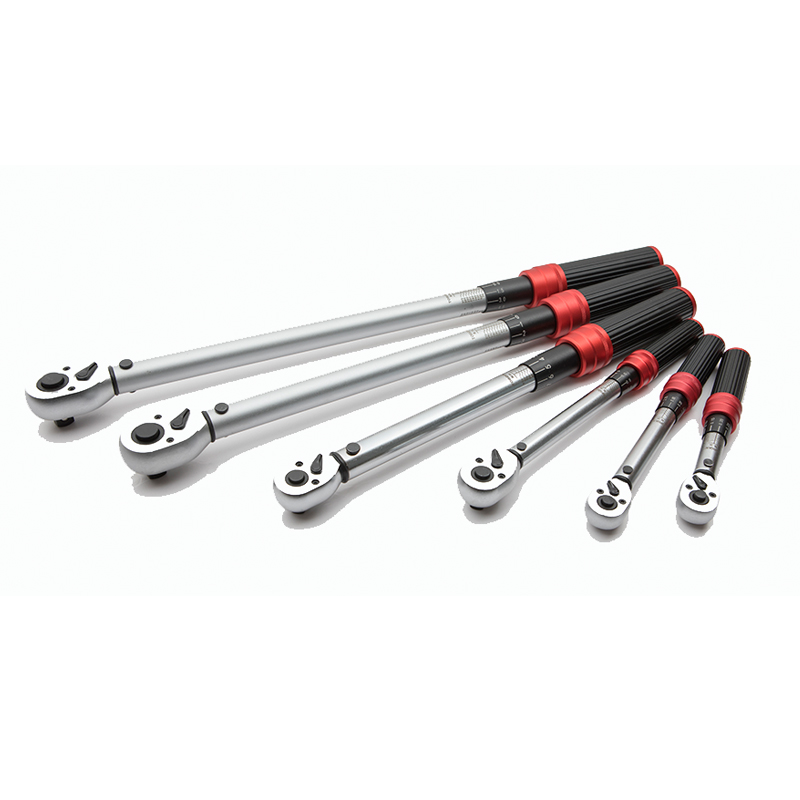
Click-type torque wrenches are the go-to for most projects, but using them right is key to accuracy. Follow these steps to avoid mistakes:
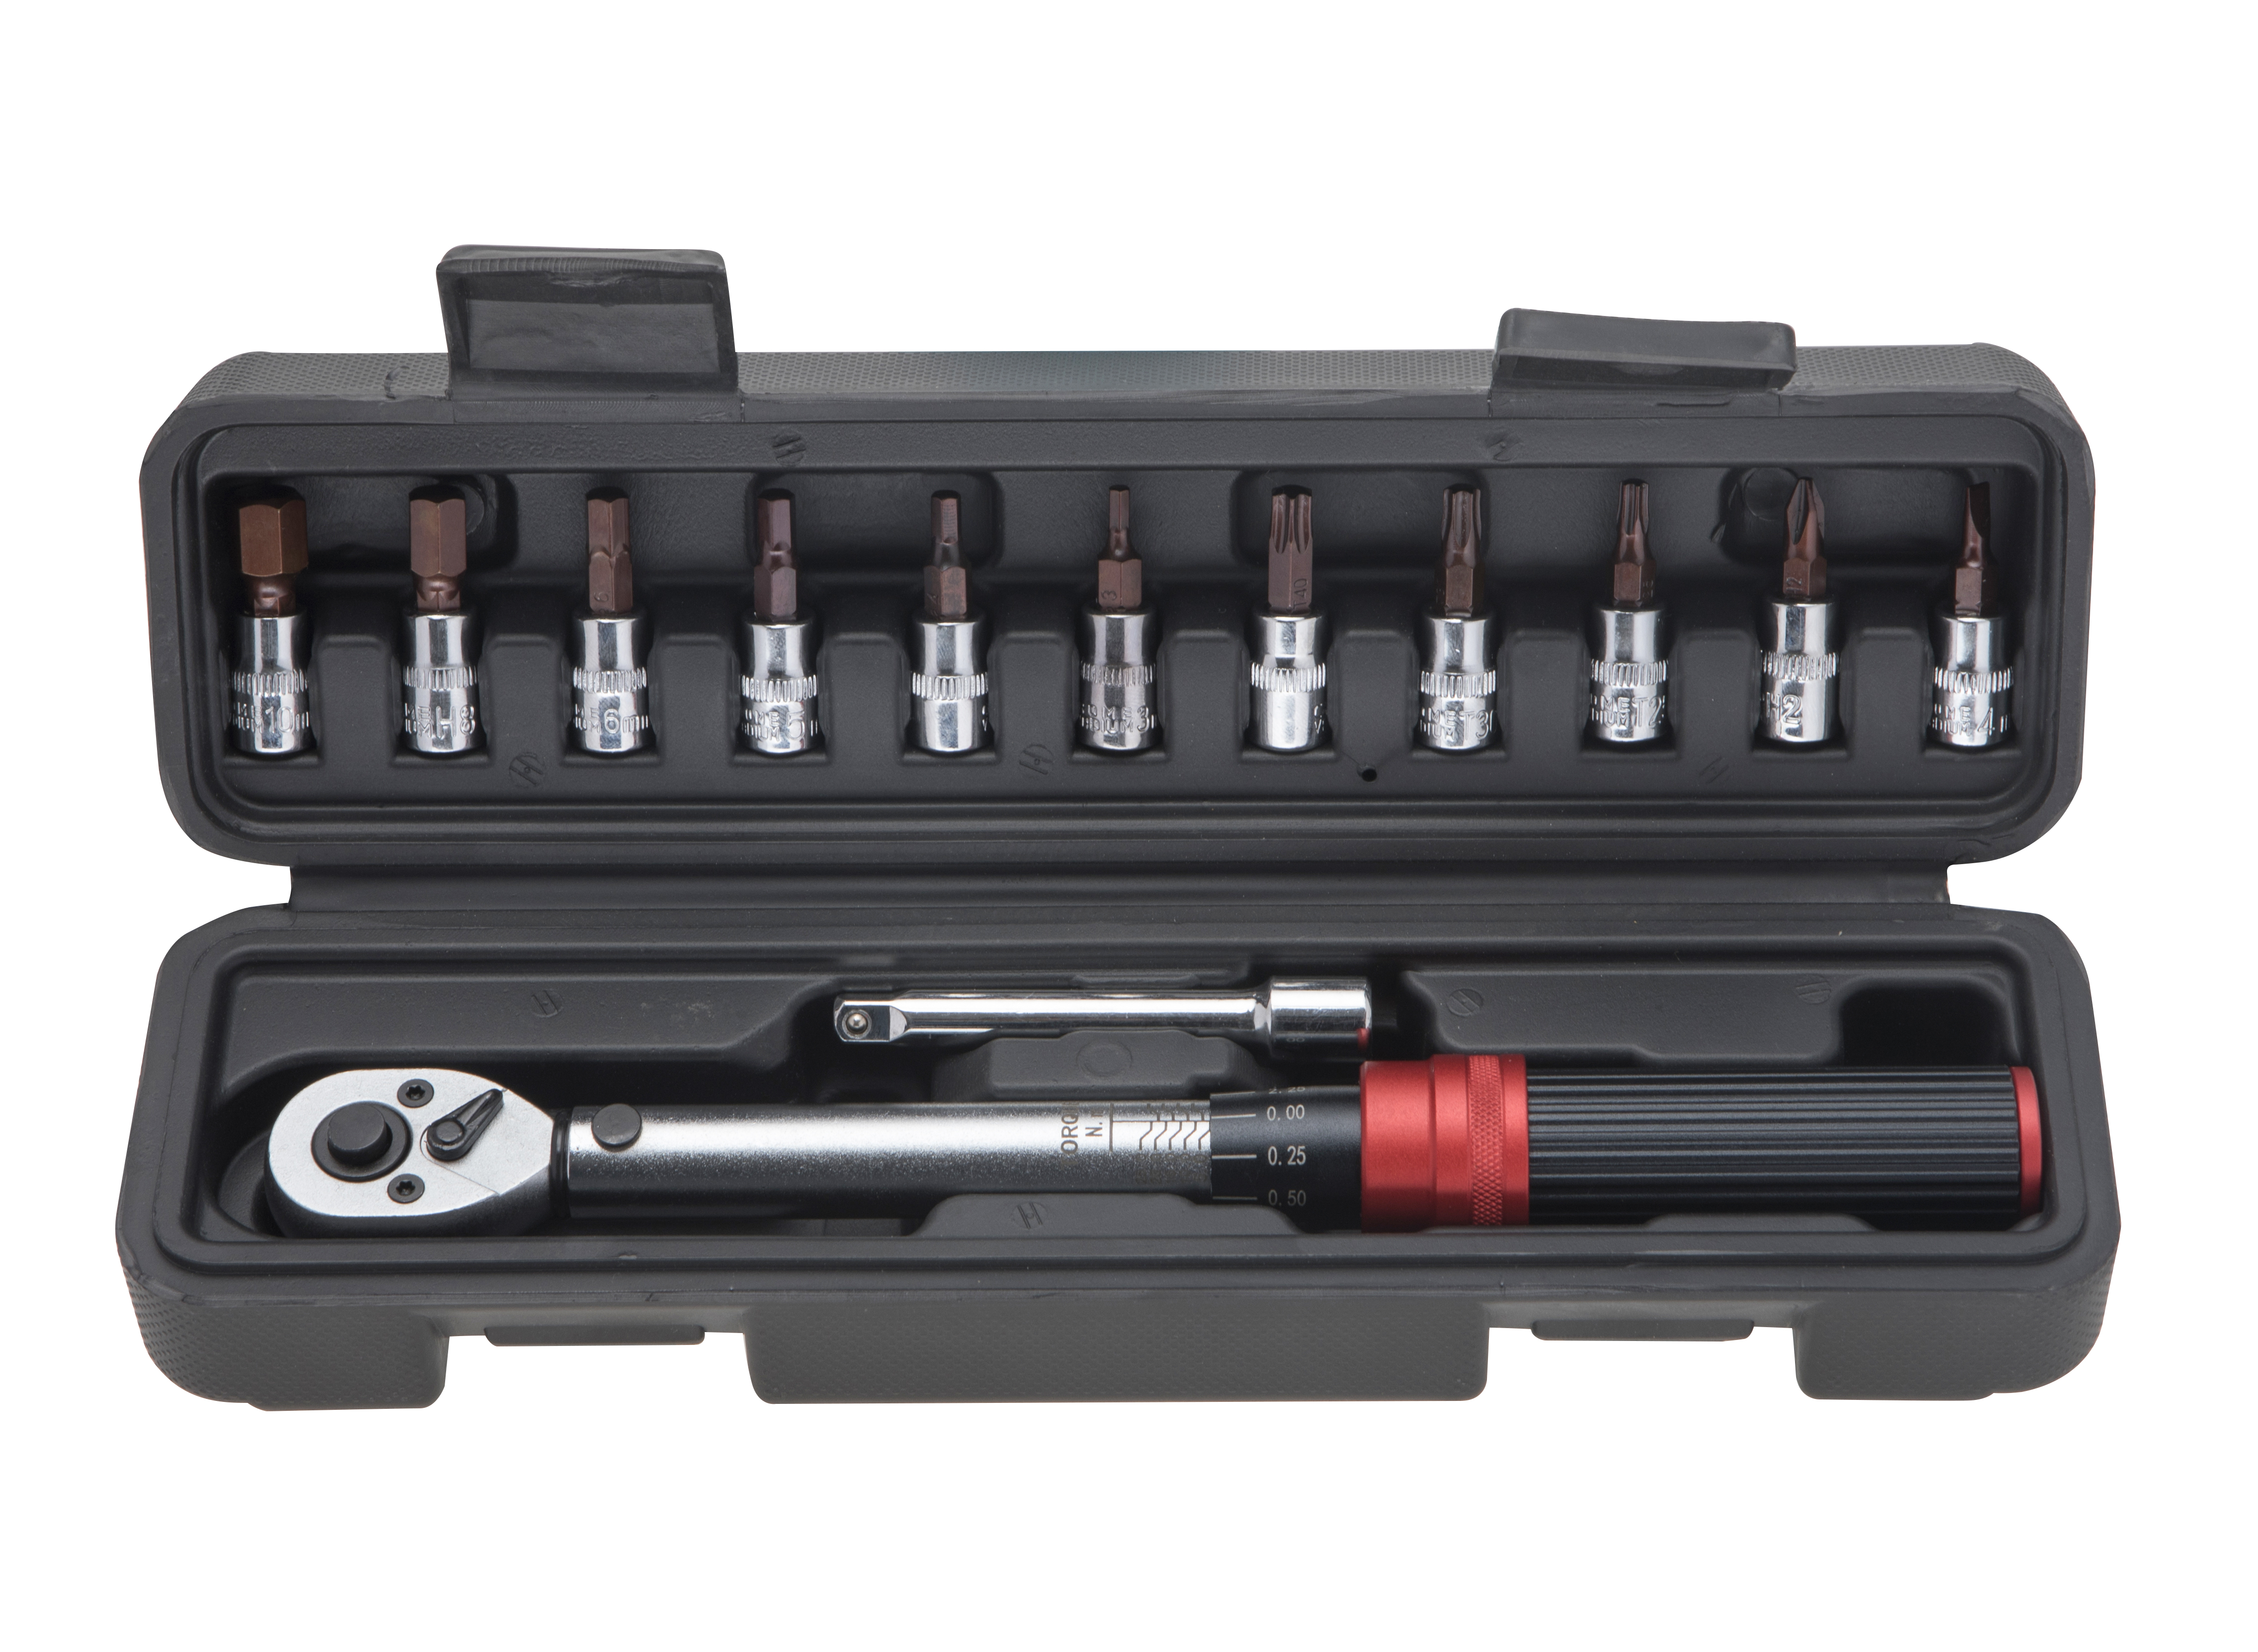
1. Set the Torque Value: Locate the adjustment knob (usually at the bottom of the handle). Unlock it (twist counterclockwise), then turn the knob to align your desired torque (e.g., 20 ft-lbs) with the marker. Lock the knob back in place—never adjust it while applying force.
1. Attach the Right Socket: Choose a socket that fits the fastener (e.g., 10mm for a small bolt) and matches your wrench’s drive size (1/4”, 3/8”, or 1/2” are common). Push the socket onto the wrench’s square drive until it clicks.
1. Position the Wrench: Slide the socket over the fastener. Hold the wrench by the middle or lower part of the handle (not the head)—holding it higher can throw off torque accuracy. Keep the wrench as straight as possible (avoid angling it with extensions unless necessary).
1. Apply Force Slowly: Turn the wrench clockwise (for tightening) at a steady pace. Don’t jerk or rush—sudden force can lead to over-tightening. You’ll hear a “click” and feel a small release when you reach the set torque. Stop immediately—applying more force after the click ruins precision.
1. Reset After Use: After your project, turn the adjustment knob counterclockwise to lower the torque to its lowest setting. This relieves tension on the internal spring, extending the wrench’s life.


